I have been so excited working with projects with my new sewing machine. Now, I will reveal my most complicated sewing project to date! It is a reversible hoodie! It took me 2 days to make it. It is my first shirt/top (everything else I've made so far had been skirt or pants for bottoms). So it was my first time making sleeves, a hood, and my first time putting a zipper in. It was also my first Kangaroo pocket, since everything I'd done previously had been inseam pockets. But the pockets were actually much simpler than inseam pockets. I like making things reversible, and I wanted to hide my ugly seams, so I purposely made it 100% reversible.
The main side is a thick purple stripped terry material with a little stretch, very warm. The reverse side is a solid purple, and is a thinner fabric with very little stretch. On both sides you see the light gray ribbing that I used for the sleeve cuffs and waist trim of the sweatshirt.

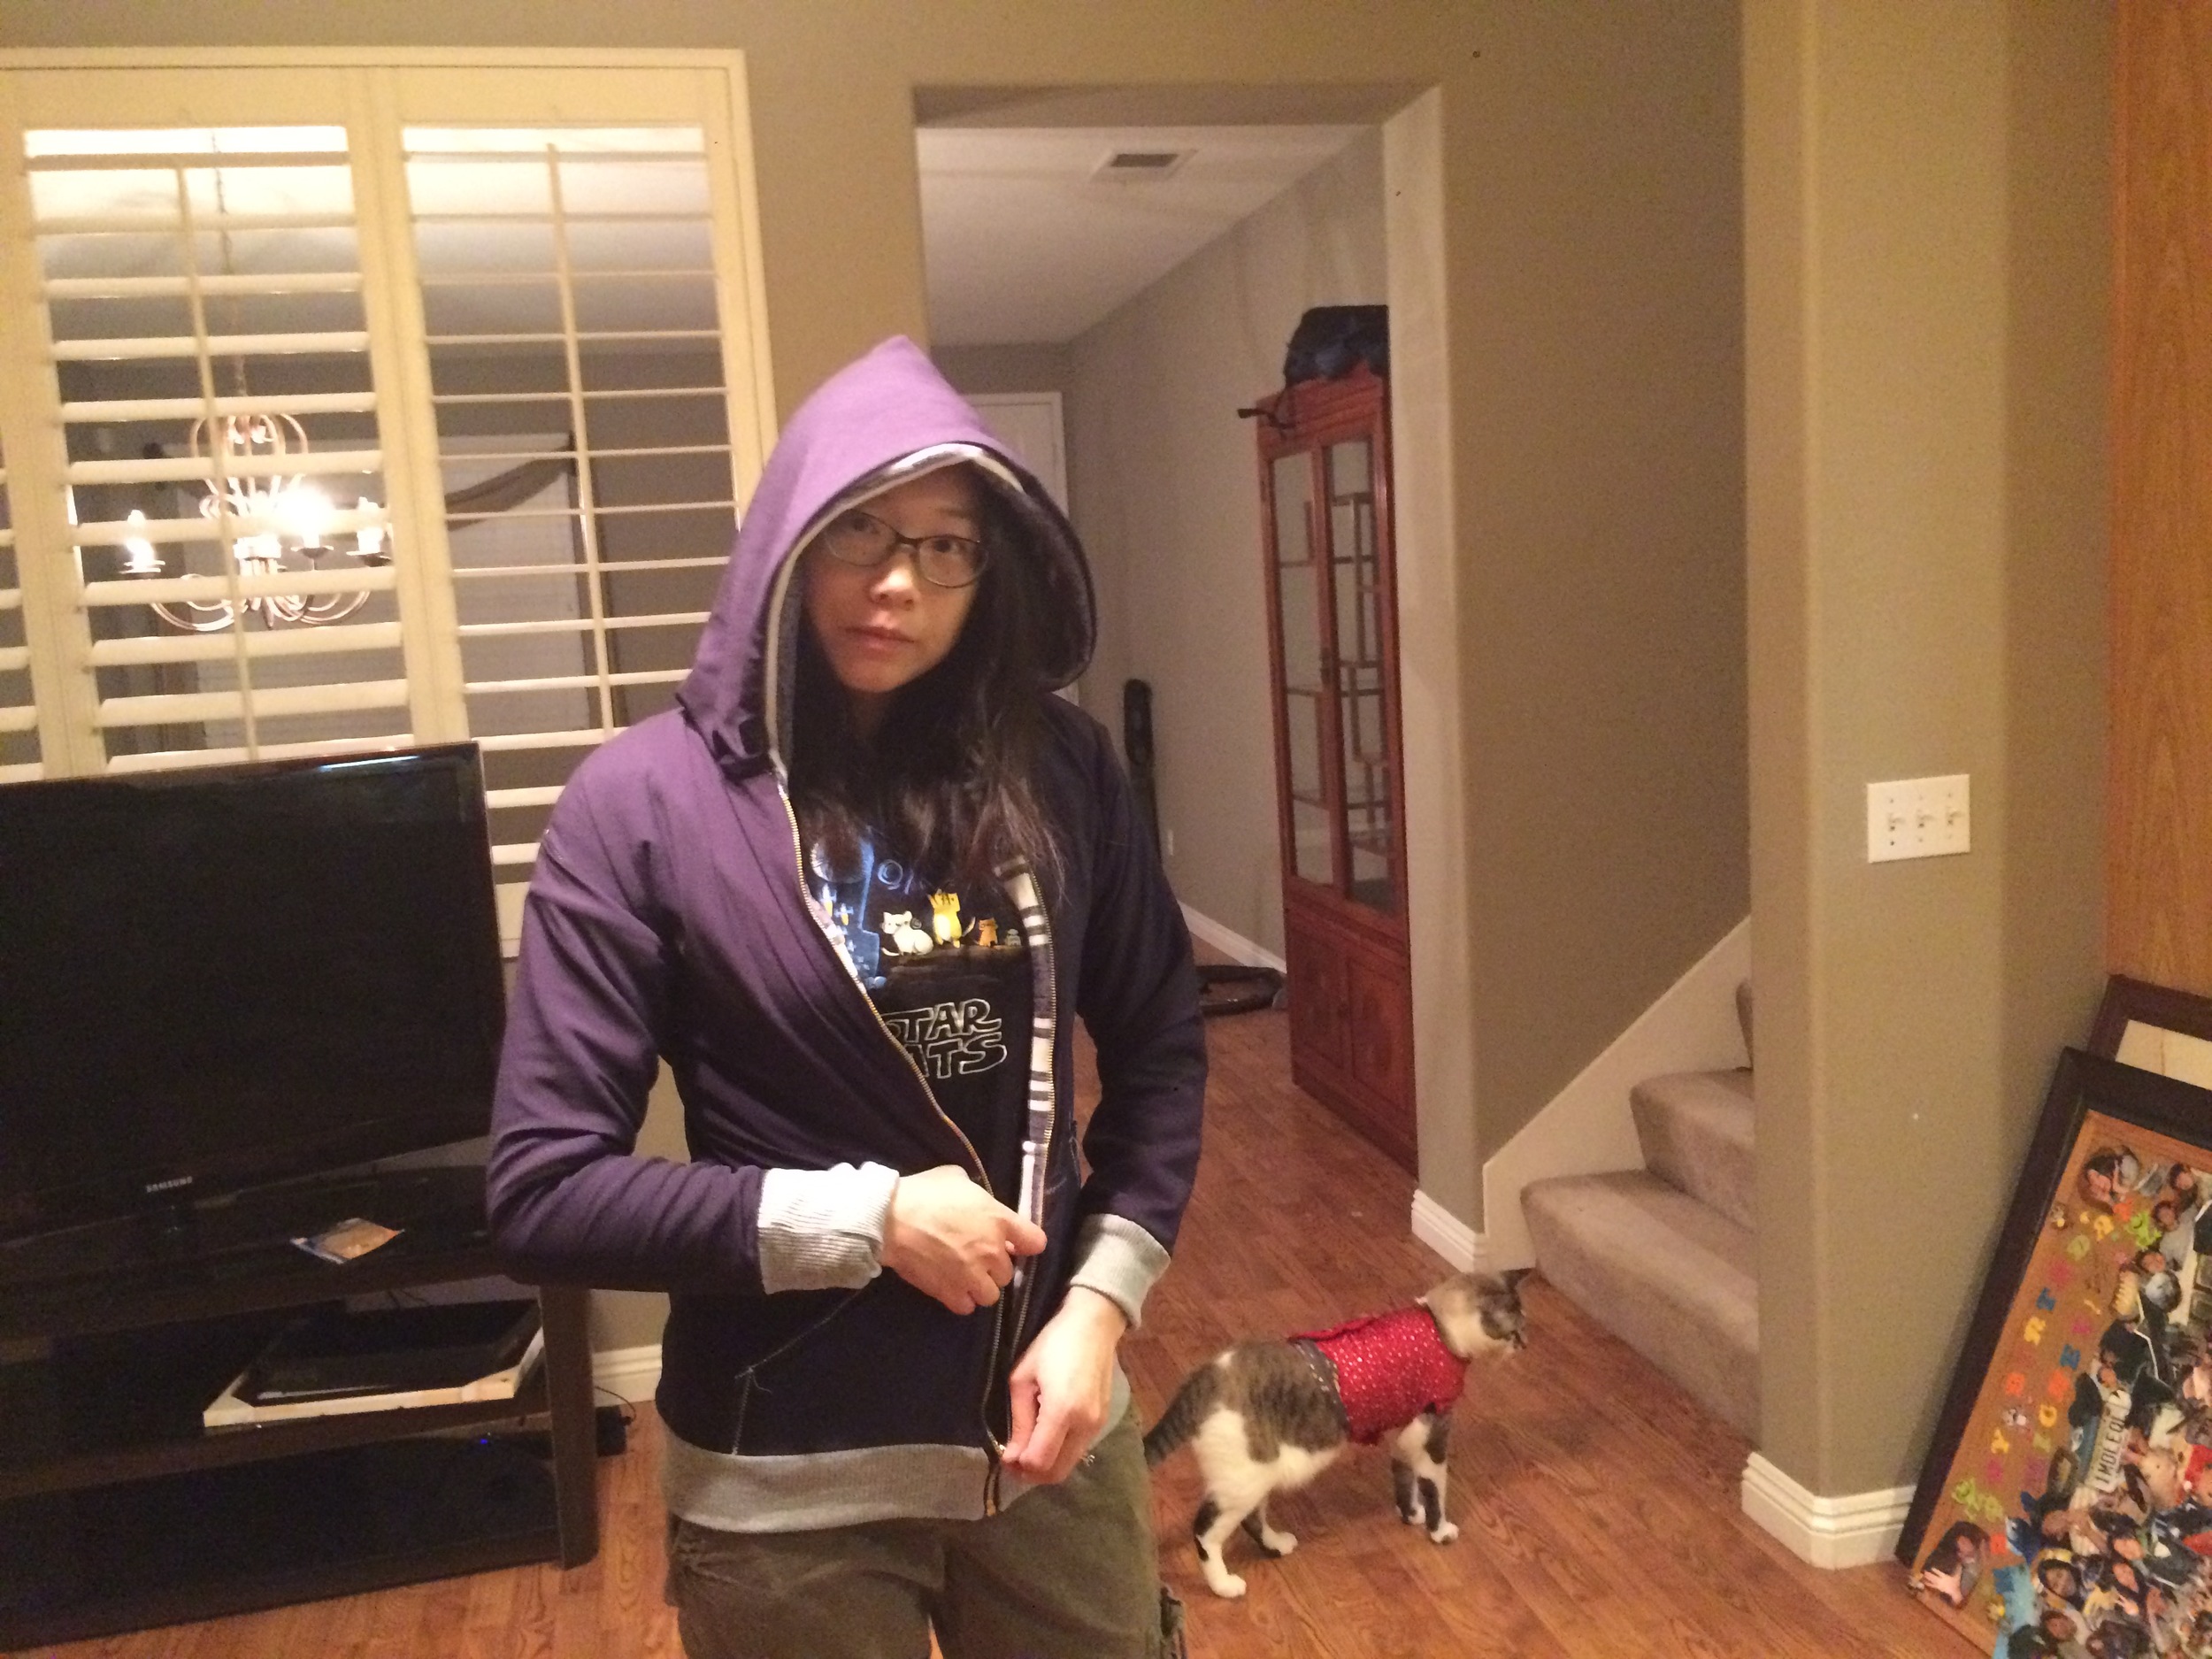
Hands in my kangaroo pockets! So stylish and comfy cozy ^_^ I was surprised that my first attempt at a hoodie fit so well!

Hood on, with Mu rubbing on my legs.

MIlo is wearing his read sequined shirt, haha.

Showing off the reverse side, which is a solid purple. Both sides share the gray ribbing cuffs and waist trim.


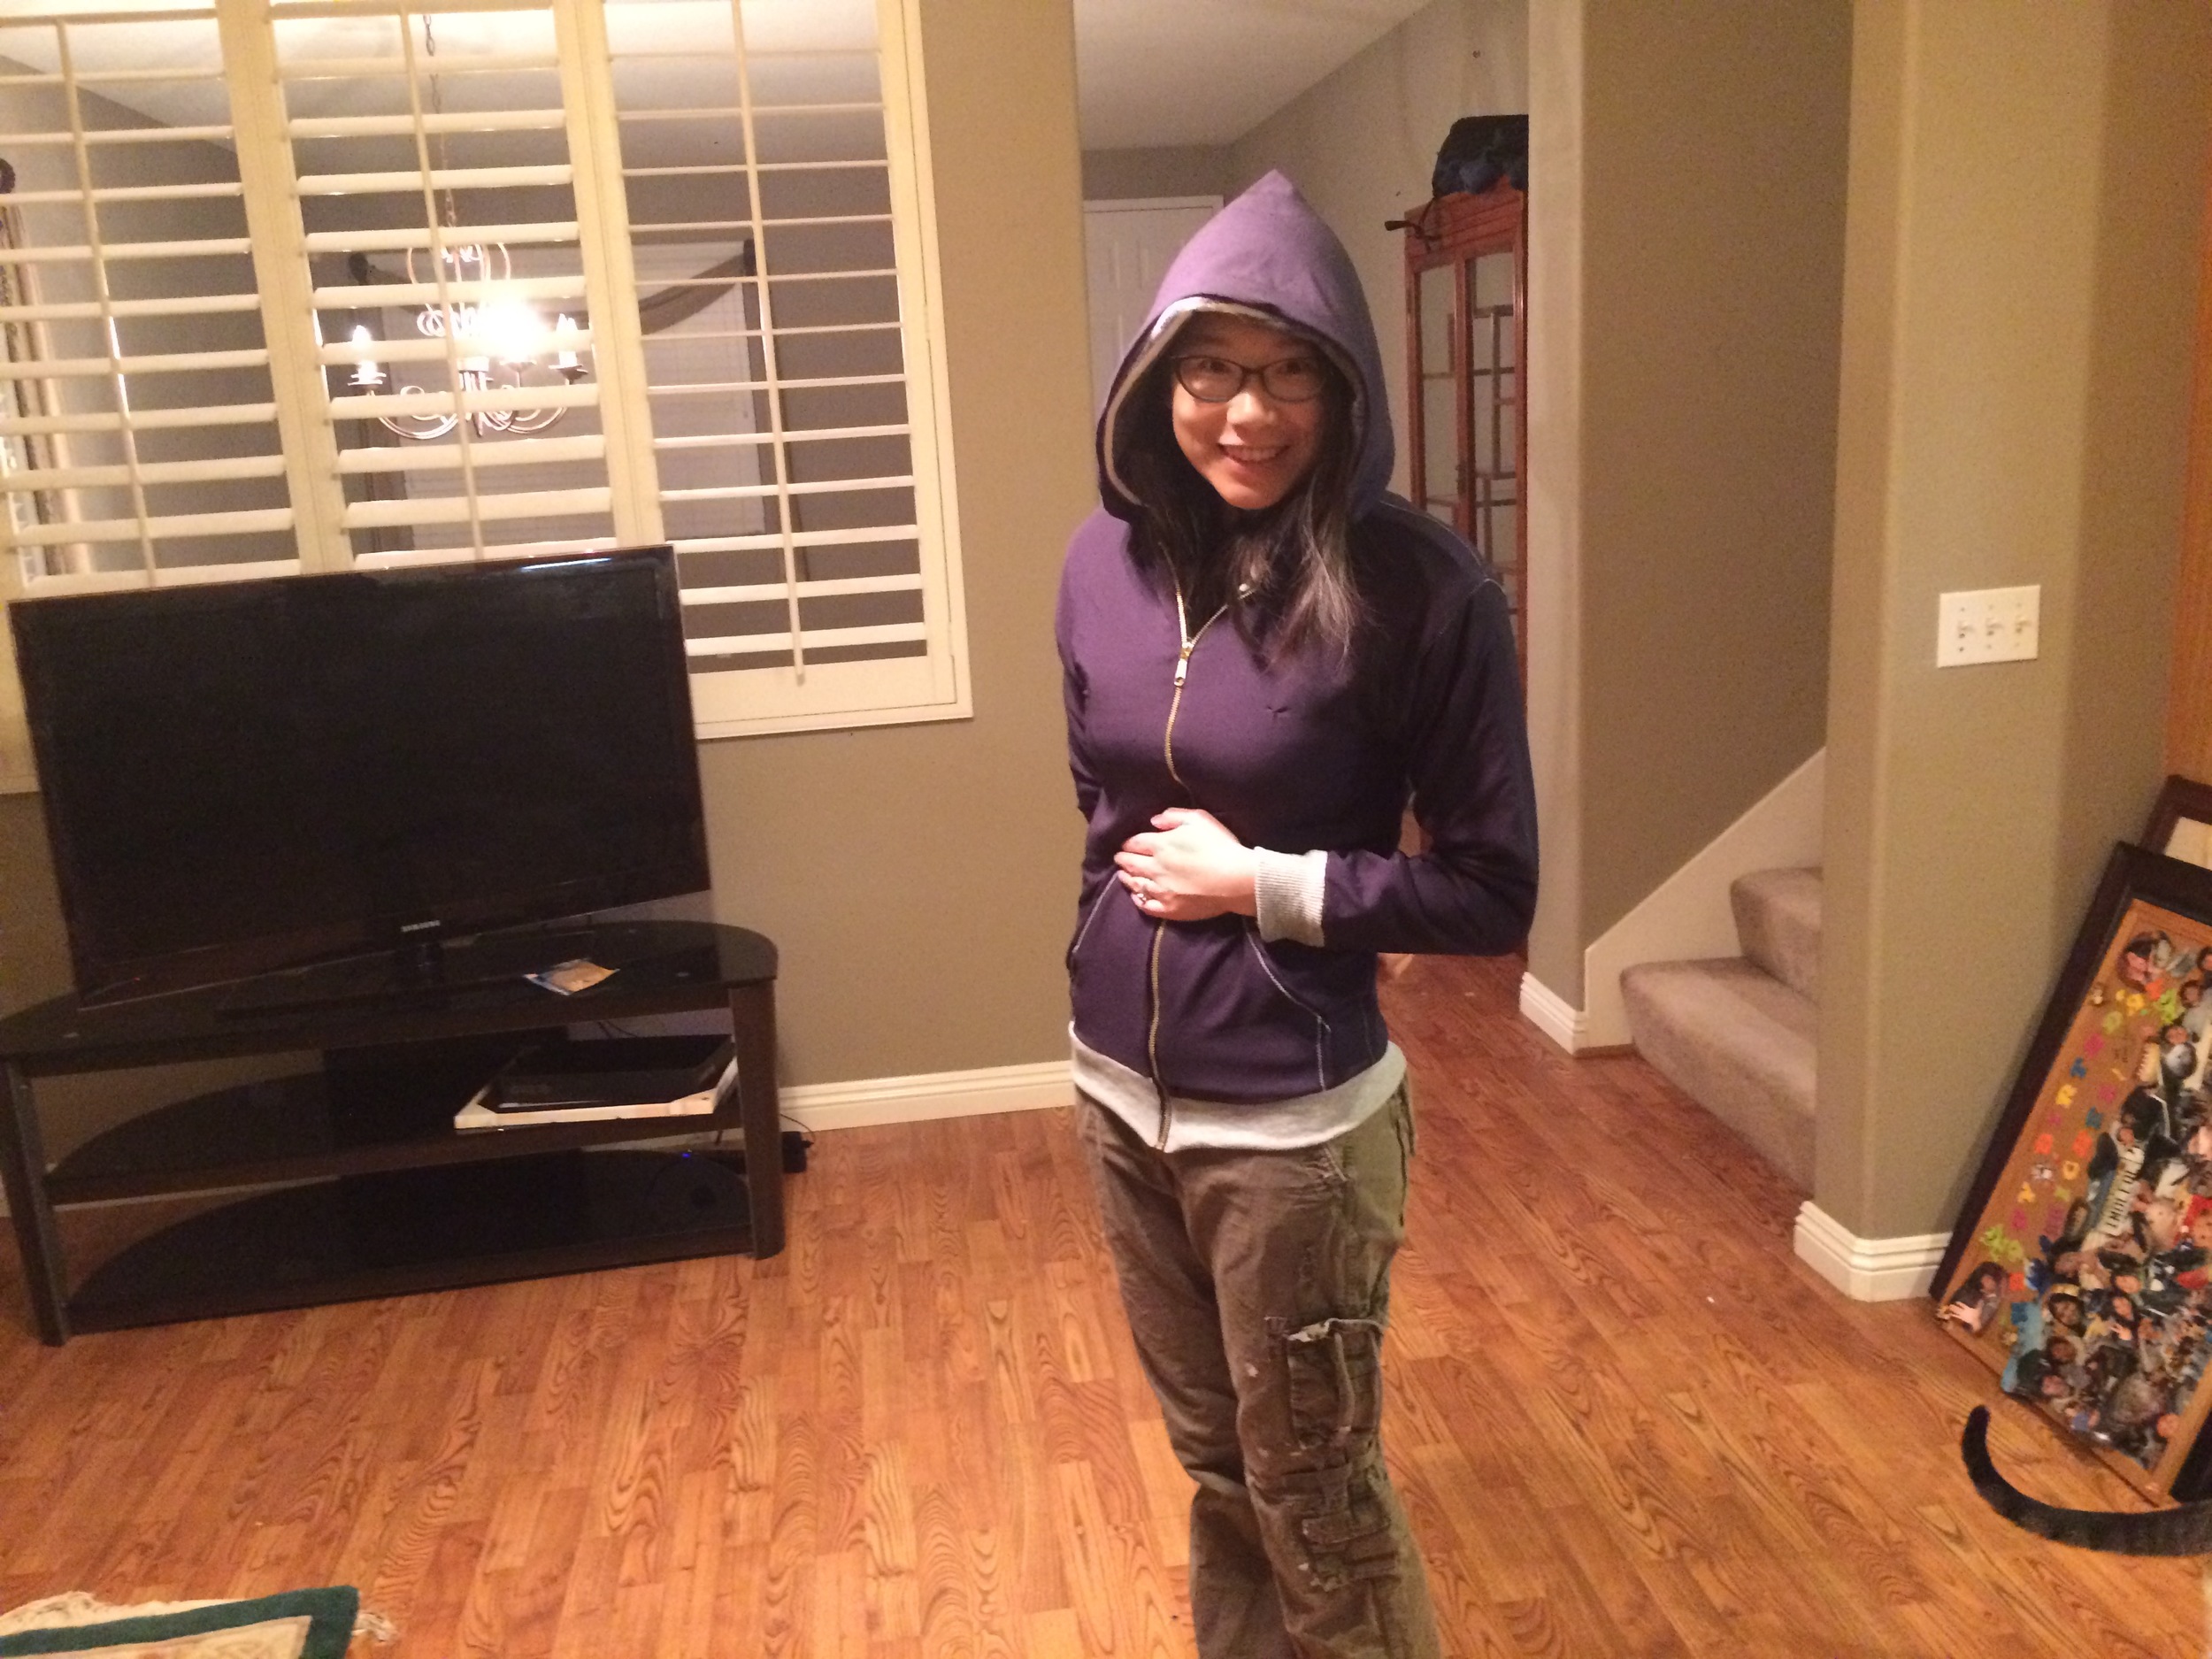
Fits very well! Here I'm hiding the irregularity with my pocket, haha.
I will try to describe how I made it, since I told my friend Anh that I would give her a link for how to make a reversible hoodie. Except I kind of used several sources and combined them all. So hopefully this explaination will help.
The Hoodie http://mellysews.com/2016/02/reversible-zinnia-jacket.html I followed the idea from this website, where they made a reversible hoodie jacket. I did not buy their pattern. I have never bought a commercial pattern, as I don't think it is necessary if you already have clothes that fit you.
I used a hoodie that already fits well on me as a pattern. I lay my hoodie down flat on the fabric that I want to use, look at the seams in the hoodie, and how many pieces it took to make, and I lay flat and cut out the pieces with extra length all around for seam allowance.
My Hoodie required one back piece, two side front (left and right), two arms, and one hood. The arm pieces and hood piece I cut on a fold to make sure it was symmetrical. I probably should have cut on a fold for my back piece and cut the two front side pieces together on a fold to make sure they were symmetrical as well, but it was harder to do that with my premade hoodie pattern. So I just cut around my commercial hoodie, just be sure to give yourself enough seam allowance, otherwise it will end up smaller than you wanted. I also cut out two pocket pieces for each reversible side, using my commercial hoodie as a pattern.
To make the hoodie reversible, you have to cut out two of every pattern piece in your two different fabrics, except the waistband and cuffs. I cut one set out of the striped purple, and one set out of the solid purple.
I then cut out one waistband and two cuffs (one for each sleeve), since both sides will be sharing the waistband and cuffs.
For the construction, I used a zig zag stitch for everything except the zipper, to allow a little bit of stretch in the seams.
I added the kangaroo pockets to the front sides, according to the above website. http://www.ikatbag.com/2010/11/pockets-v-cut-in-patch-pockets.html This website has really good information on kangaroo pockets as well. She has a great series on all types of pockets, that I highly recommend!
I then sewed the side seams, sleeves, arm holes, and hood on. Do this for both reversible sides (striped purple and solid purple), so you end up with 2 separate hoodies.
Then I sewed the hoodies to different ends of the waistband, making sure that when they are put together, both right sides will face outwards. The website has a good picture.
I then attached the cuffs to the outside side only (striped purple). Do not attach to the inside side (solid purple) yet, since you will need the sleeves open to turn the whole jacket inside out later.
I think around this point, I sewed the hood outside and lining right sides together, so the hood had its lining. At this point, you have two jackets connected by the waistband and the hood.
This is when I inserted the separating zipper. The above website did not have much info on sewing the zipper, so I did some more research.
The Zipper First of all, make sure you buy a separating zipper that is long enough for your hoodie. Make sure that the zipper is reversible, meaning it has a pull tag on both sides, so it can be used on both sides.
I bought this 24 inch reversible separating zipper from Amazon, and it was the perfect size. It has nice metal teeth, so it looks durable.
http://www.makeit-loveit.com/2011/10/sewing-tips-installing-a-basic-zipper.html
This is a good tutorial on how to install a basic zipper. However, this does not work for my reversible pattern. But I would read this first because it has good information about how to install a zipper using the zipper foot, proper placement of the zipper, and gives good tips on how to move the bulky zipper pull out of the way.
http://www.craftingfashion.com/2013/10/inserting-separating-zipper-in-thick.html This is the method that I used for installing the zipper on the reversible hoodie. There is a very good image that they have where they show the zipper sandwiched between the two sides of the fabric, with right side and wrong side clearly marked. I followed this to get my zipper inbetween the two sides. I just pinned the zipper in place instead of basting.

This is the image I thought was super helpful for zipper placement. Your fabric is right sides together, with the zipper in between, but the zipper teeth must be facing towards the inside of the sandwich.
http://www.sewingmamas.com/b/showthread.php?131698-lined-jacket-with-separating-zipper-tutorial-dwnl
This was another good description on how to install a separating zipper into a lined jacket, which is basically the same as a reversible jacket. She also shows how she does the cuffs for a lined jacket. The pictures and text here are a little more difficult to follow, so I would follow the one above if possible.
Finishing
Once you have both sides of the zipper sewn in, you will have to turn the whole jacket inside out. You have to do this through the open sleeve, so it will be a tight fit, but you have to pull the whole hoodie inside out through one of the sleeves. Hopefully you either did not attach the cuff, or only attached one side of the cuff.
Once you pull the hoodie inside out, so it is right side out, the last step is to finish the cuffs. Since I machine sewed the gray cuff to the striped purple side before adding the zipper, my cuffs were half on already. I just needed to attach the gray cuff to the solid purple side.
To be honest, the instructions here and here for how to finish the cuffs were kind of confusing to me. So I just hand stitched the gray cuff closed to the solid purple linind side. I used a blind ladder stitch (http://www.squishycutedesigns.com/ladder-stitch/) Just make sure your inside sleeve is not twisted before you sew it, otherwise your cuff will look twisted when you wear it. I made that mistake, and had to redo one of my cuffs to make it look nicer.
Ok, I hope that explaination was a little helpful. I know it is kind of confusing because I combined different sources, and didn't use a real pattern, but instead cut a pattern based on one of my existing hoodies. Hopefully you could follow it well enough though. If you have any questions, I am responsive via email!
Thanks, and good luck!