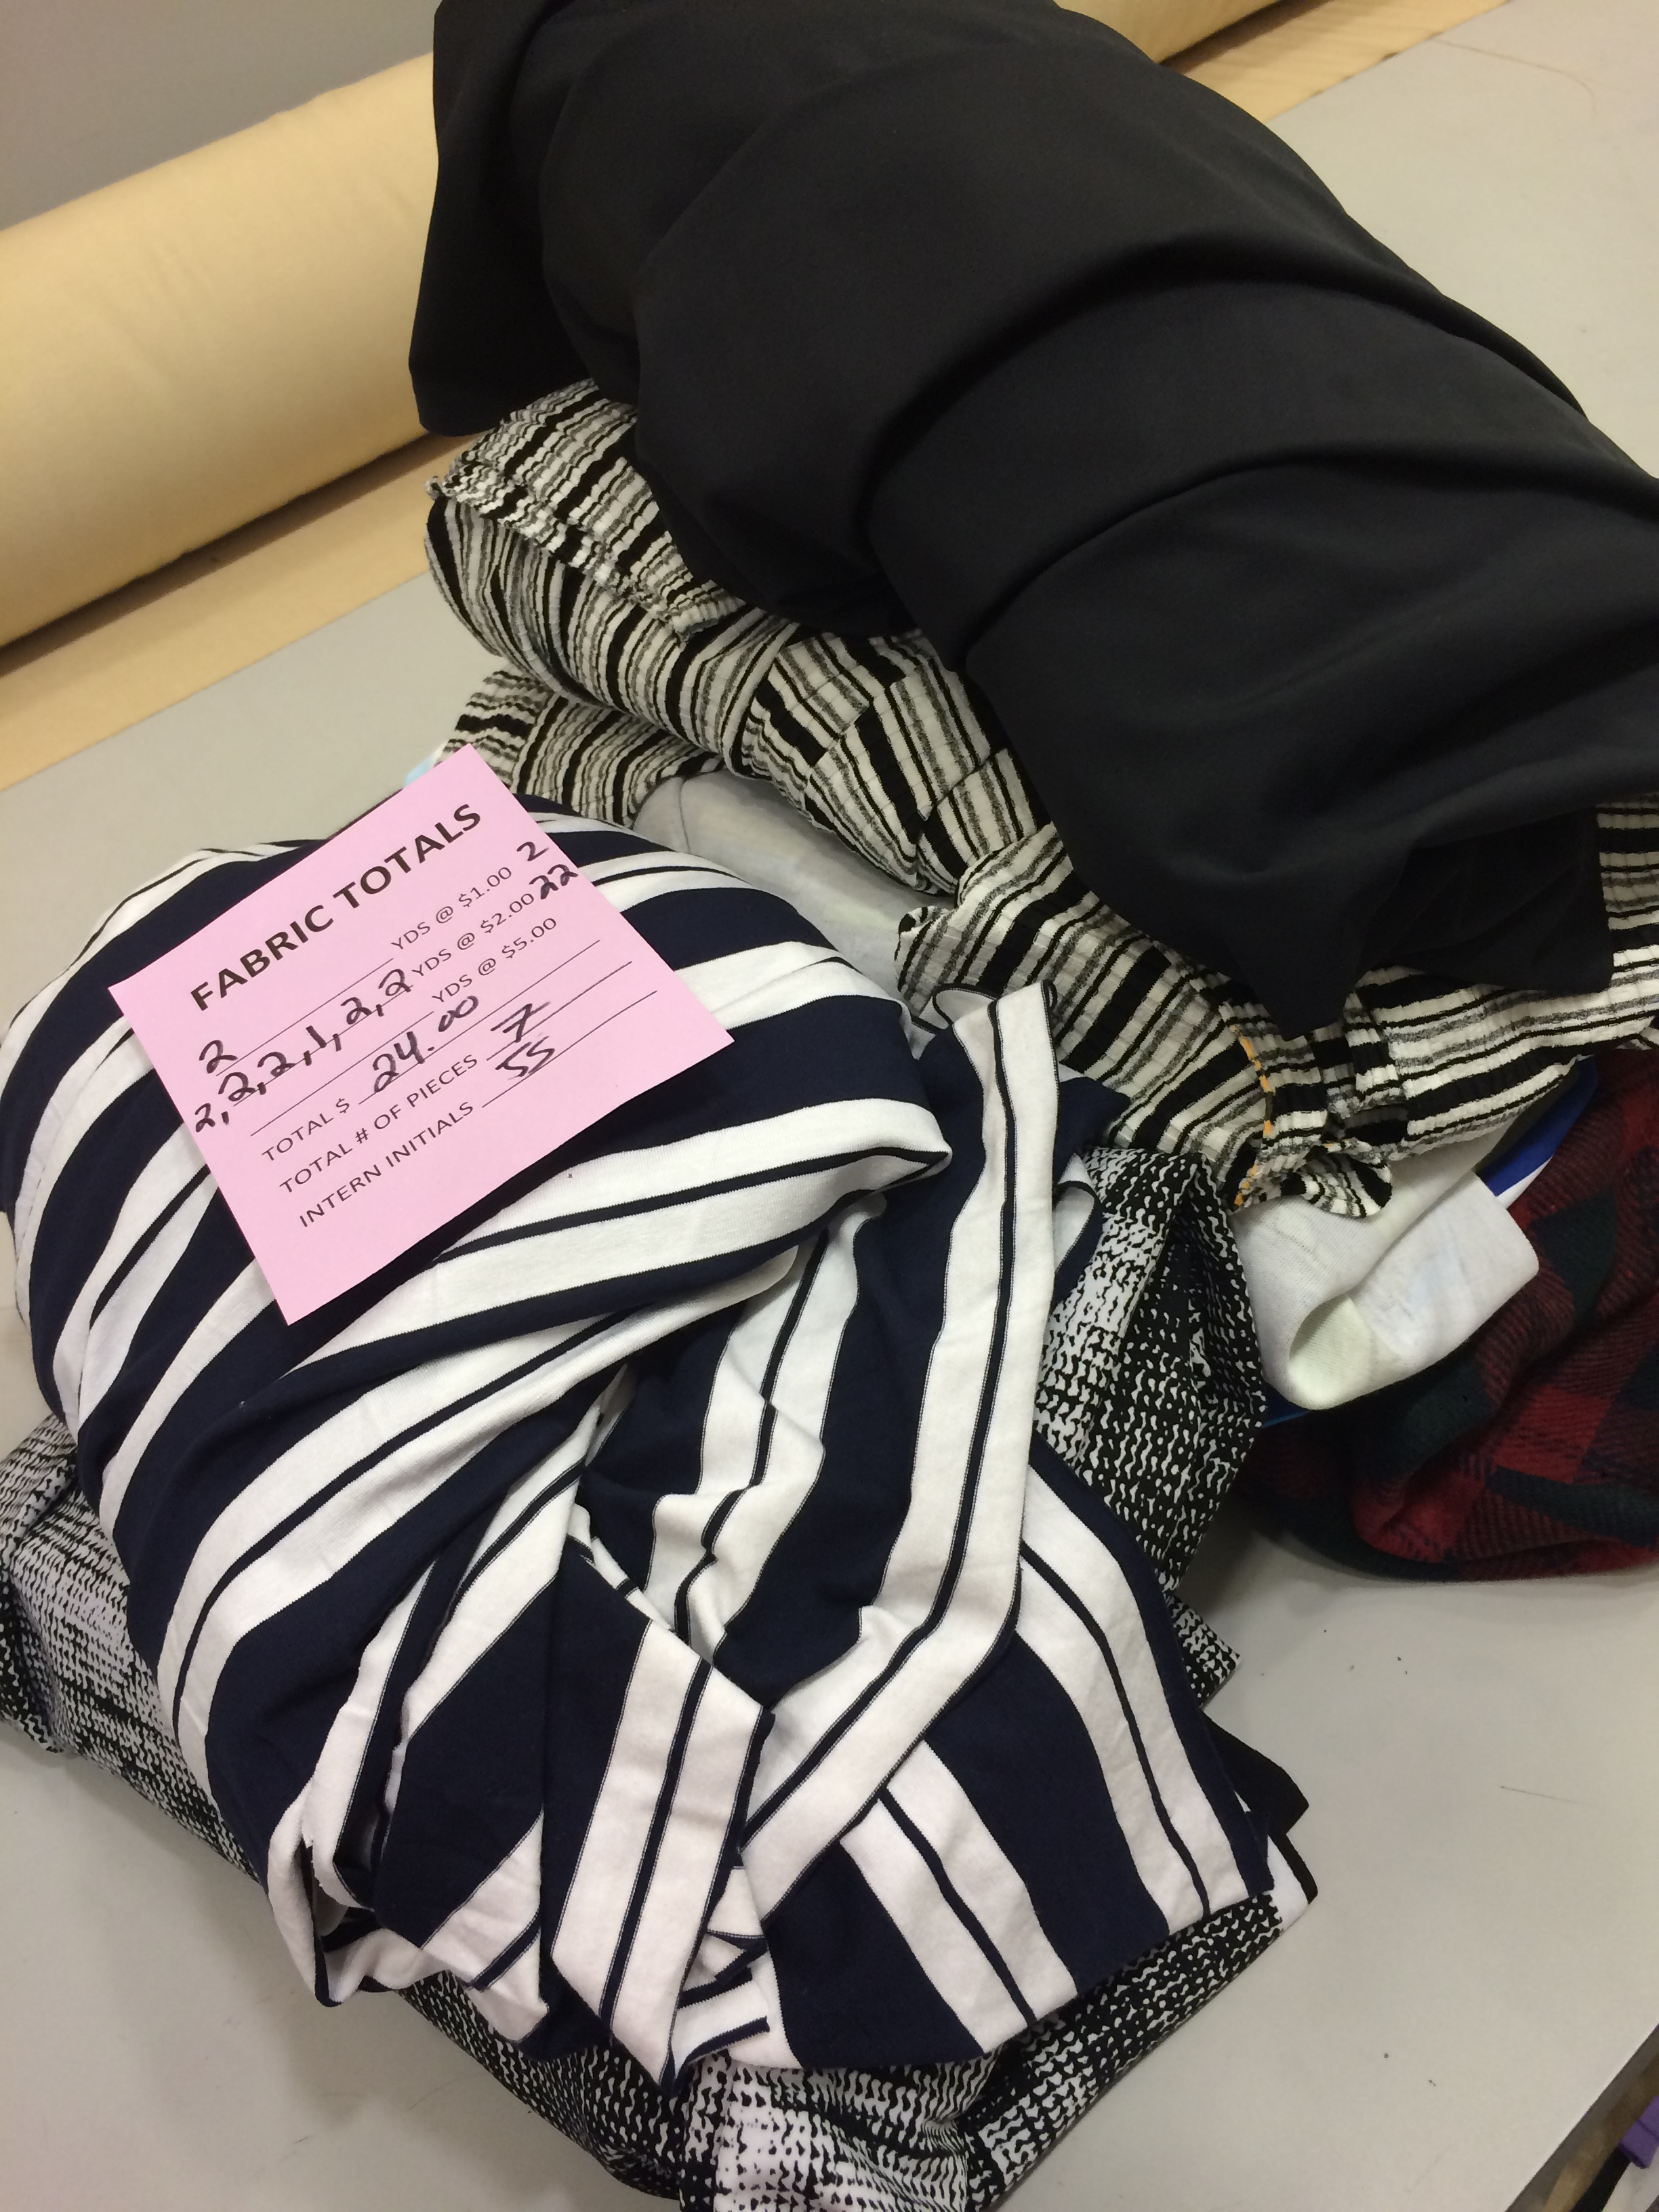
I made my second reversible hoodie from fabric that I got during my LA Fashion Distric trip. I think both of these are stretch knits that I got from the FIDM scholarship store. I love the black and white side, and I mostly wear that side out. I've had several people comment that it looks like a snowboarding jacket!
I basically made this hoodie the same way that I made the previous one. Except I tried to make this hoodie more slim fitted than the first. Also, instead of using a ribbed knit for the waistband and sleeve cuffs, I just made the hoodie sleeves and waist fitted, so a waistband and cuffs were not needed. I made the length a little longer than the first hoodie, but I found out that I can turn up the bottom, and it makes a nice contrasting waistband if I want to show off the reverse side.
This hoodie is the favorite thing that I've made so far! I love the fit, it wears slim, but not too tight. If I were to make it again, I might make the upper arms a little more fitted, but as it is, it fits perfectly, and is not restrictive to motion at all.
I also love the fabric I used. I kind of wish I had purchased some more. It's a really nice thick, smooth stretch knit on both sides. The black side is heavier weight than the striped colored side.
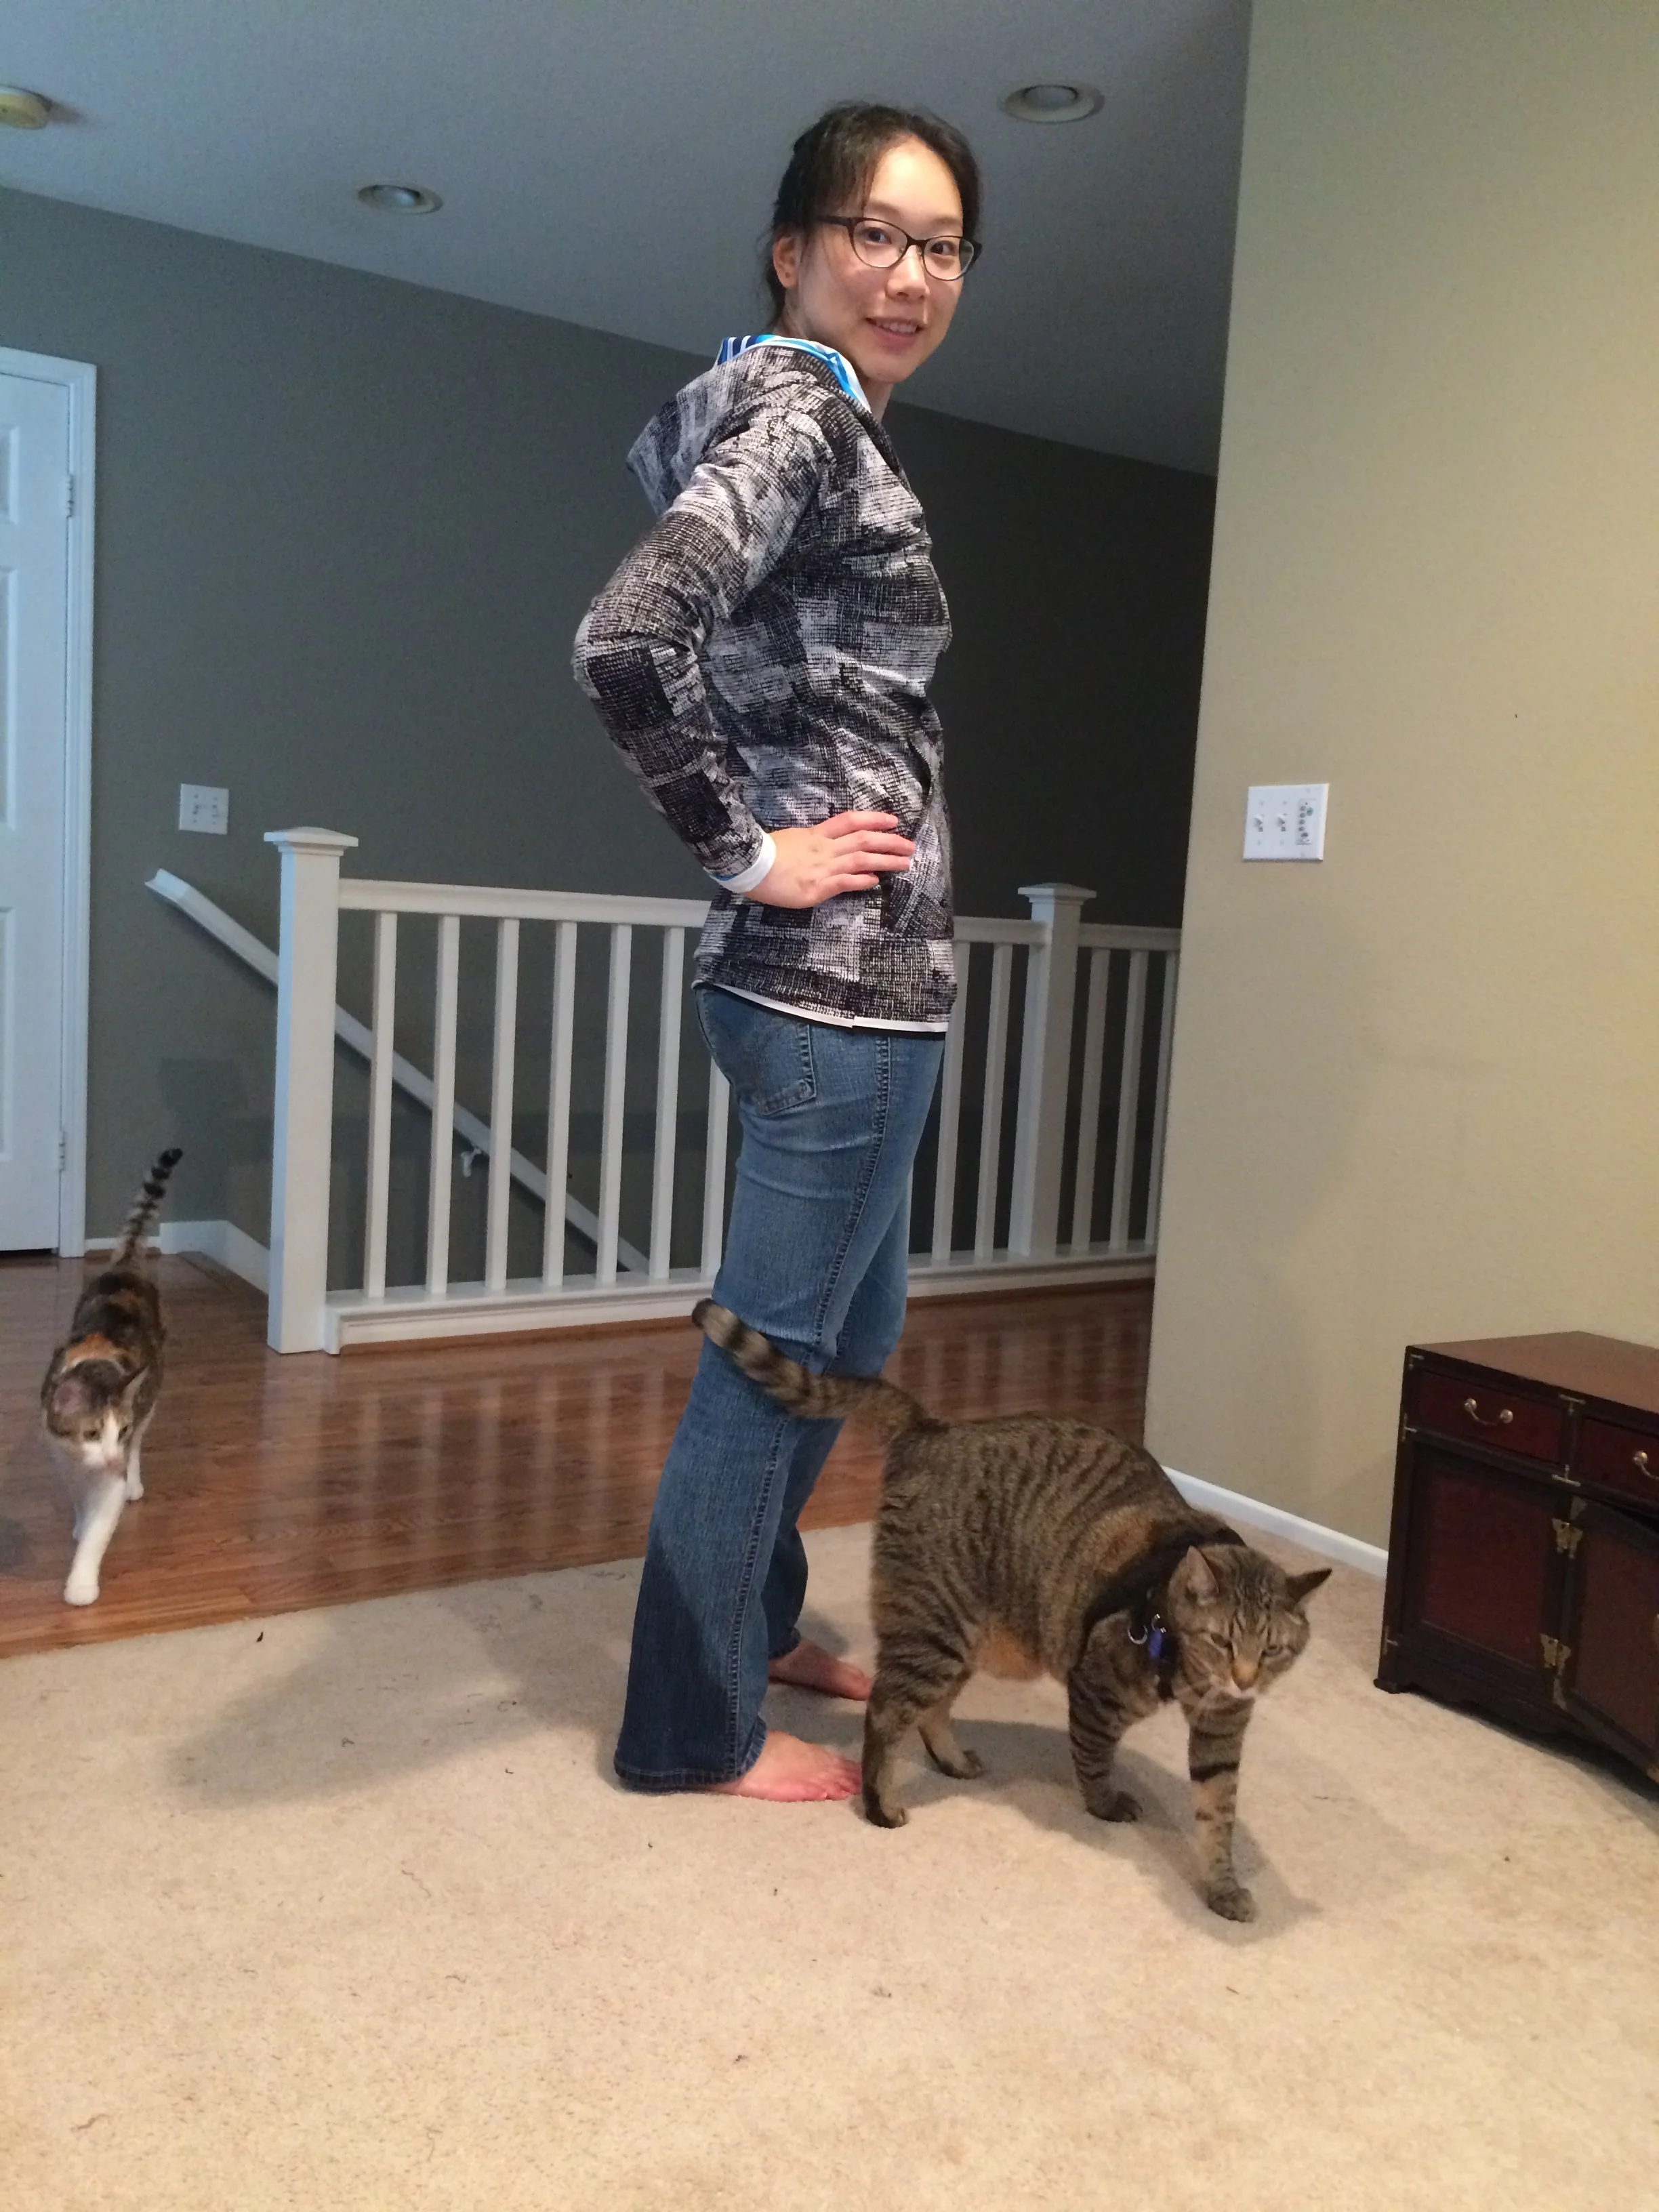
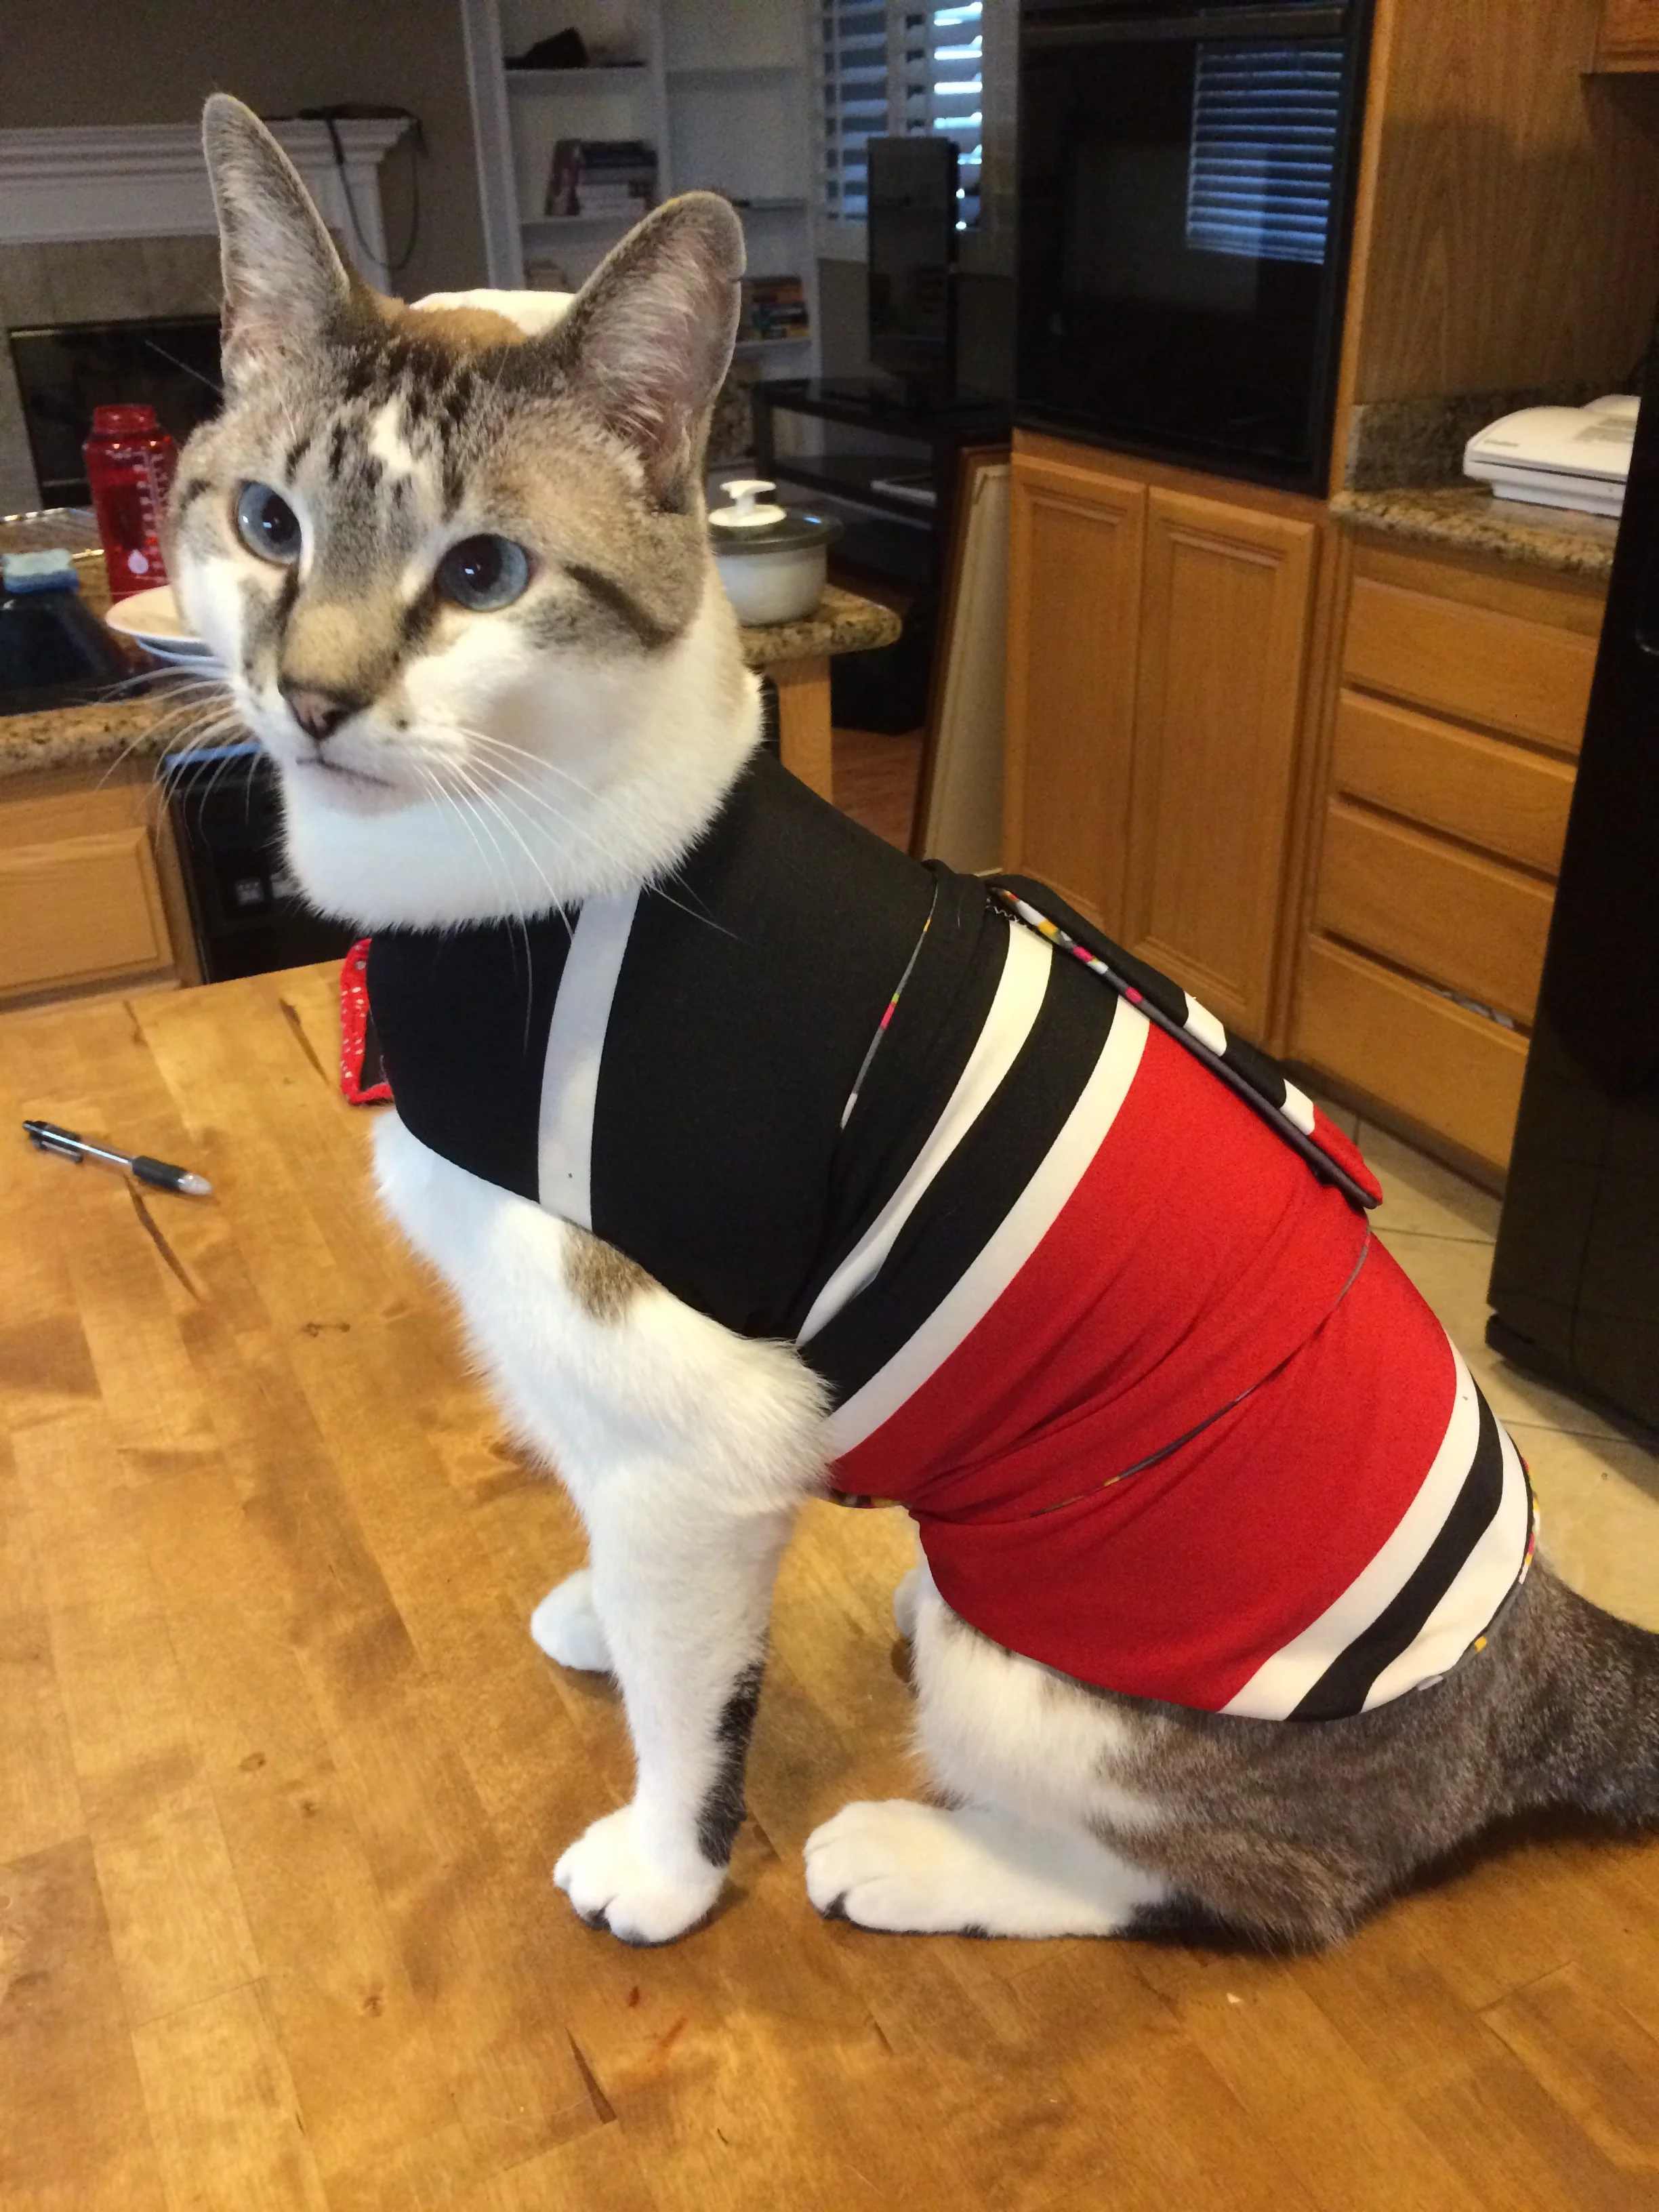
Showing off the hoodie with my Oscar Boss. I think the hoodie fits really well! No waistband or cuffs, so the lines look really straight and smooth along the body.

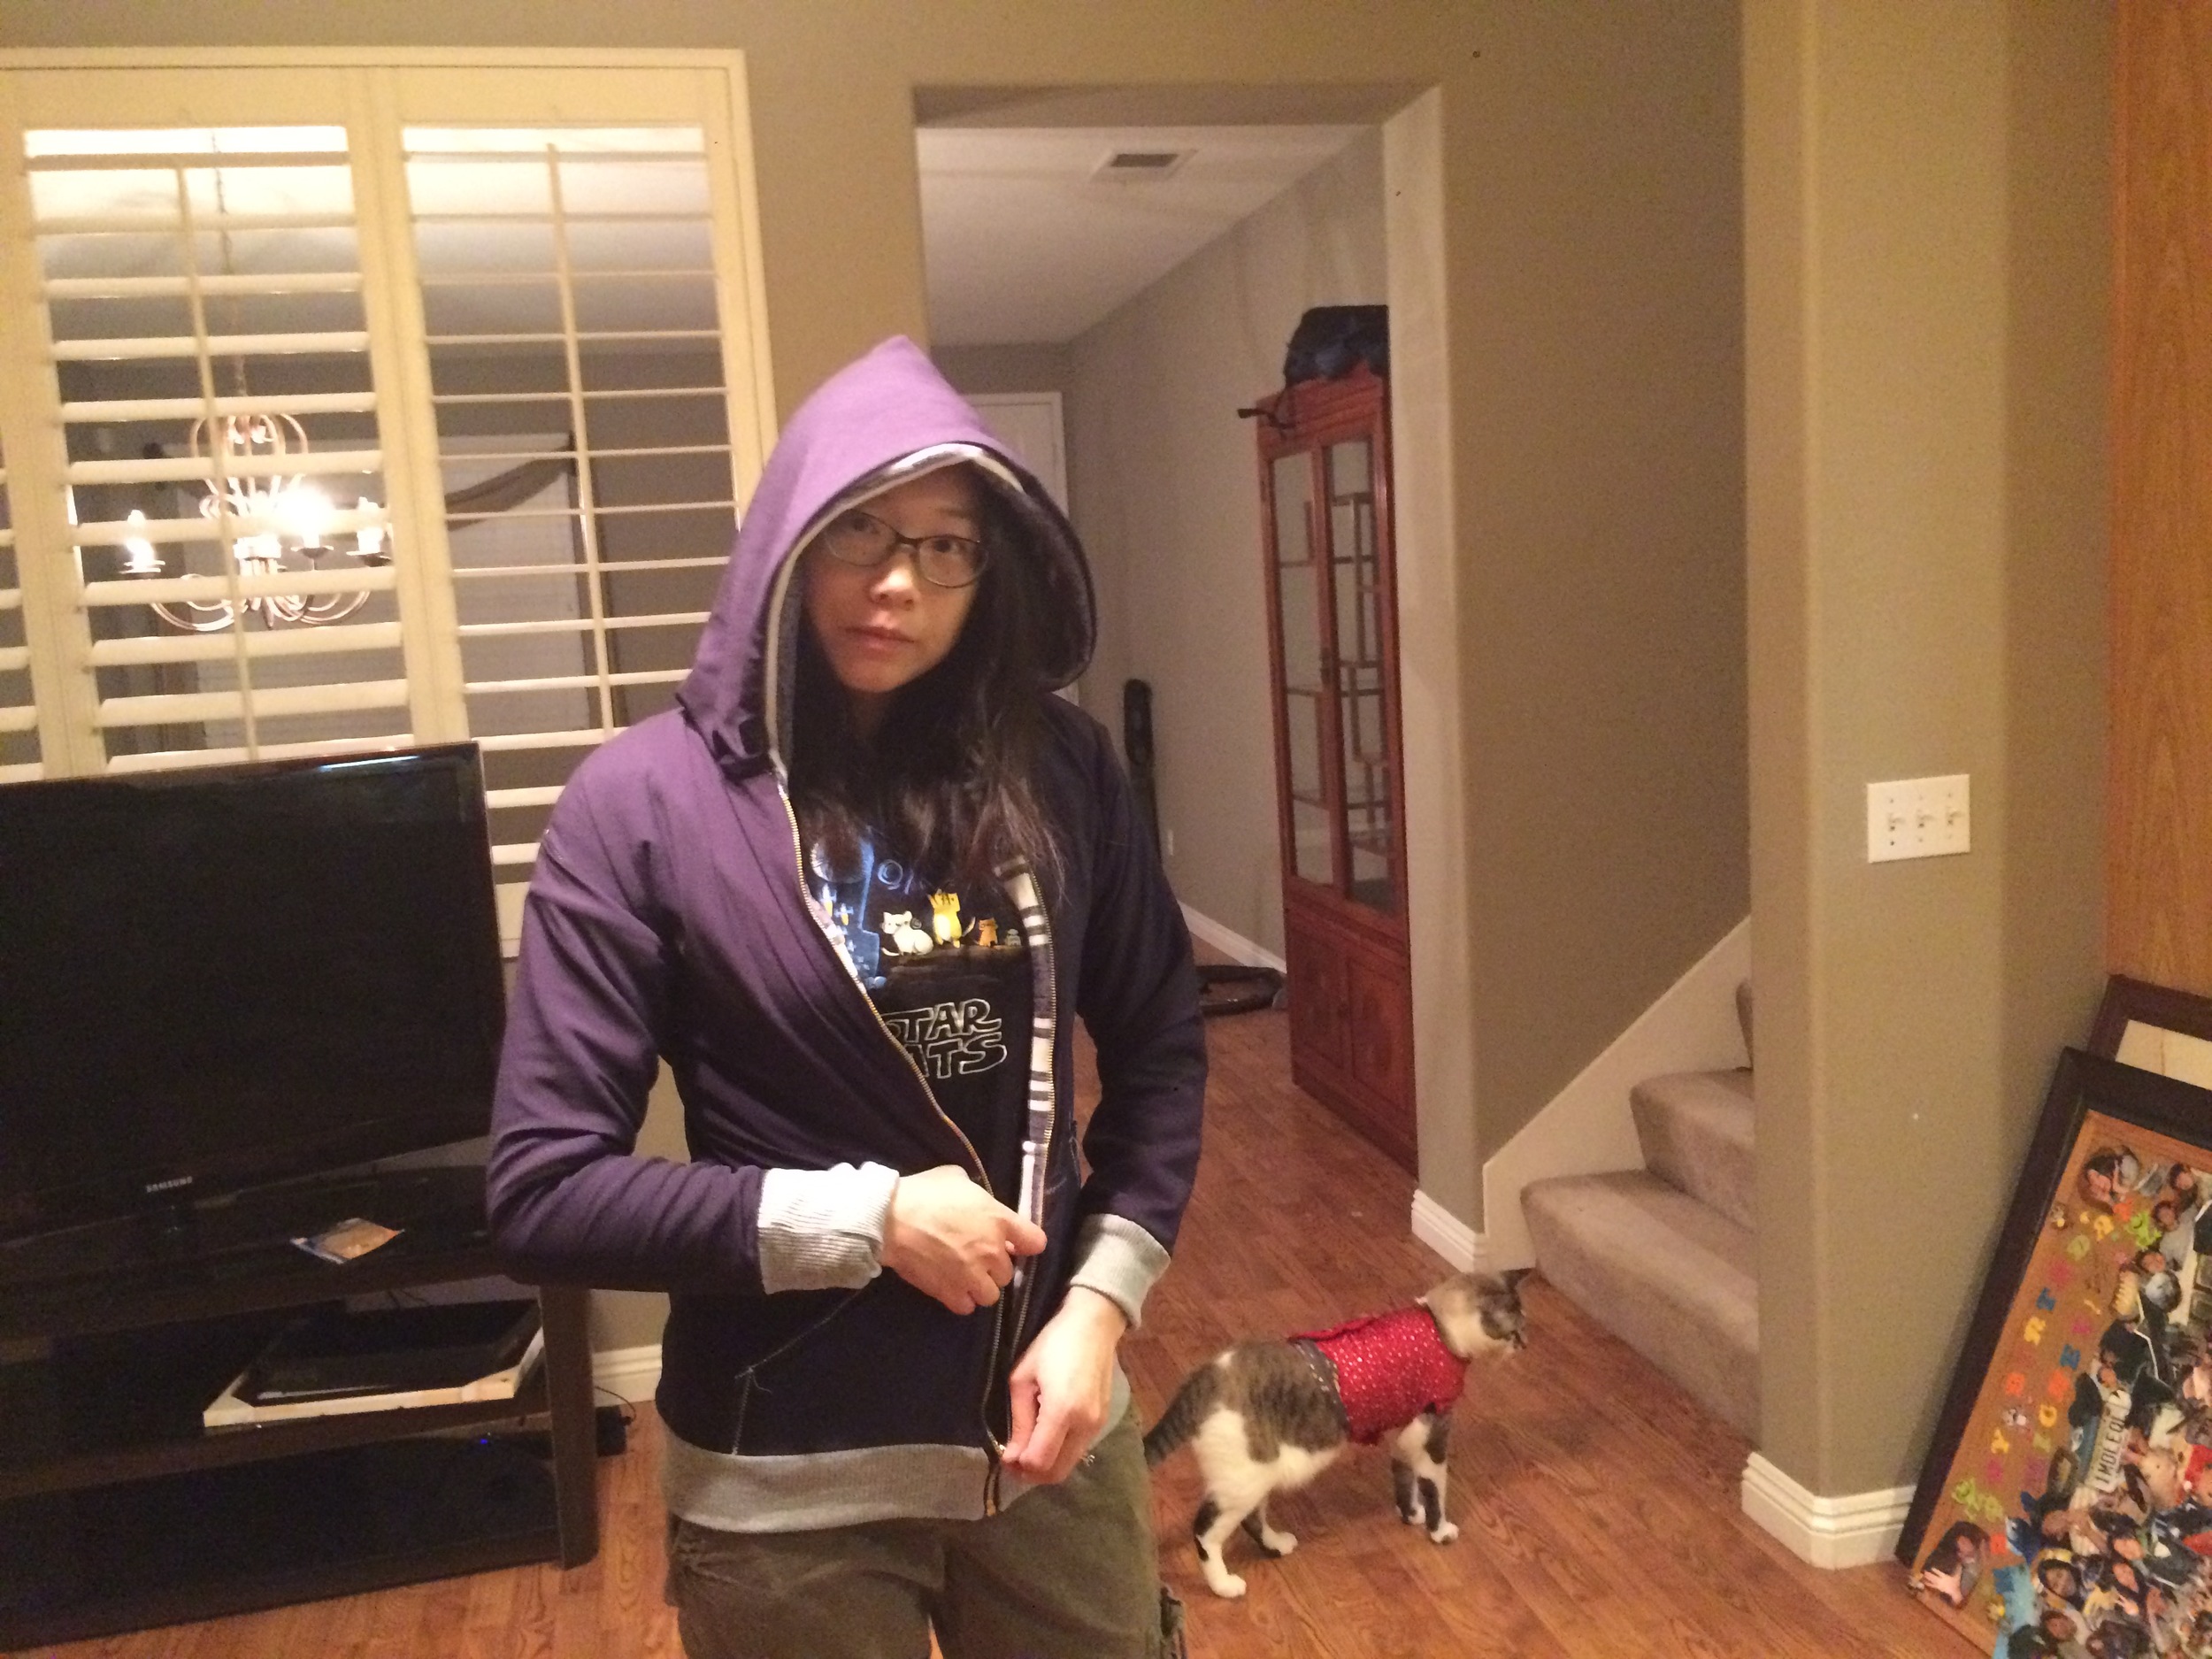
Zipper open

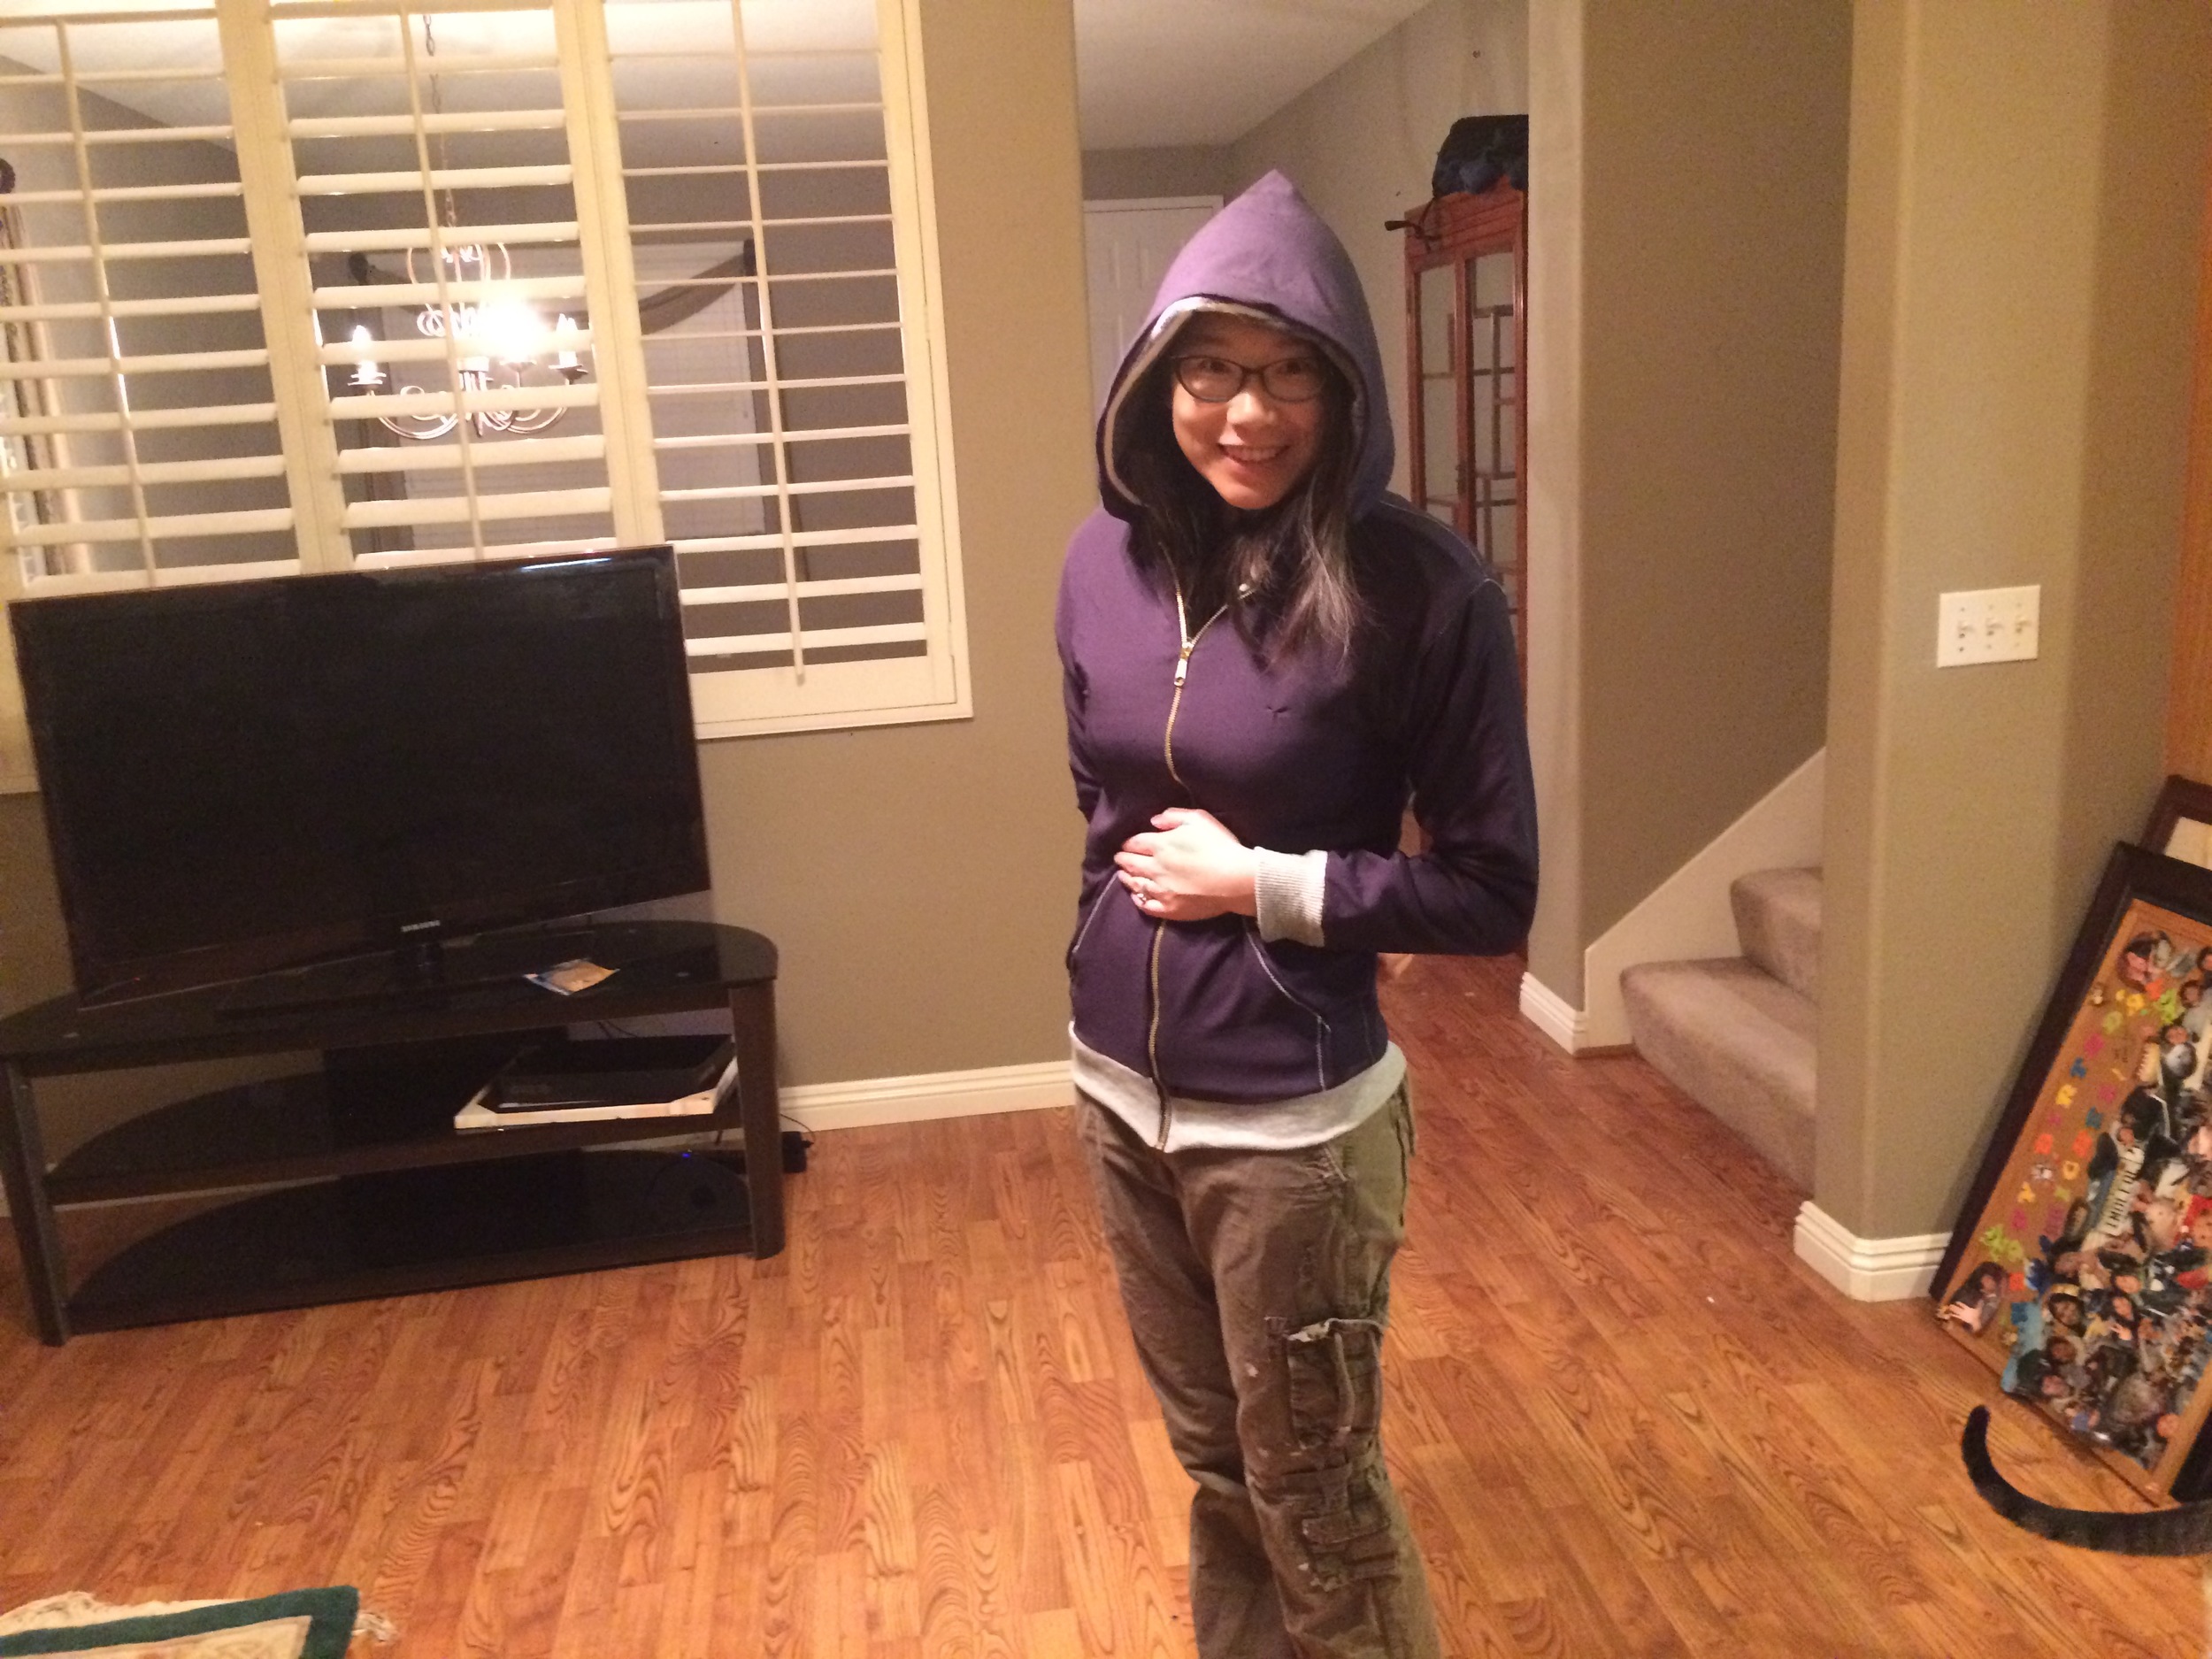
Zipper zipped up. Nice and fitted.
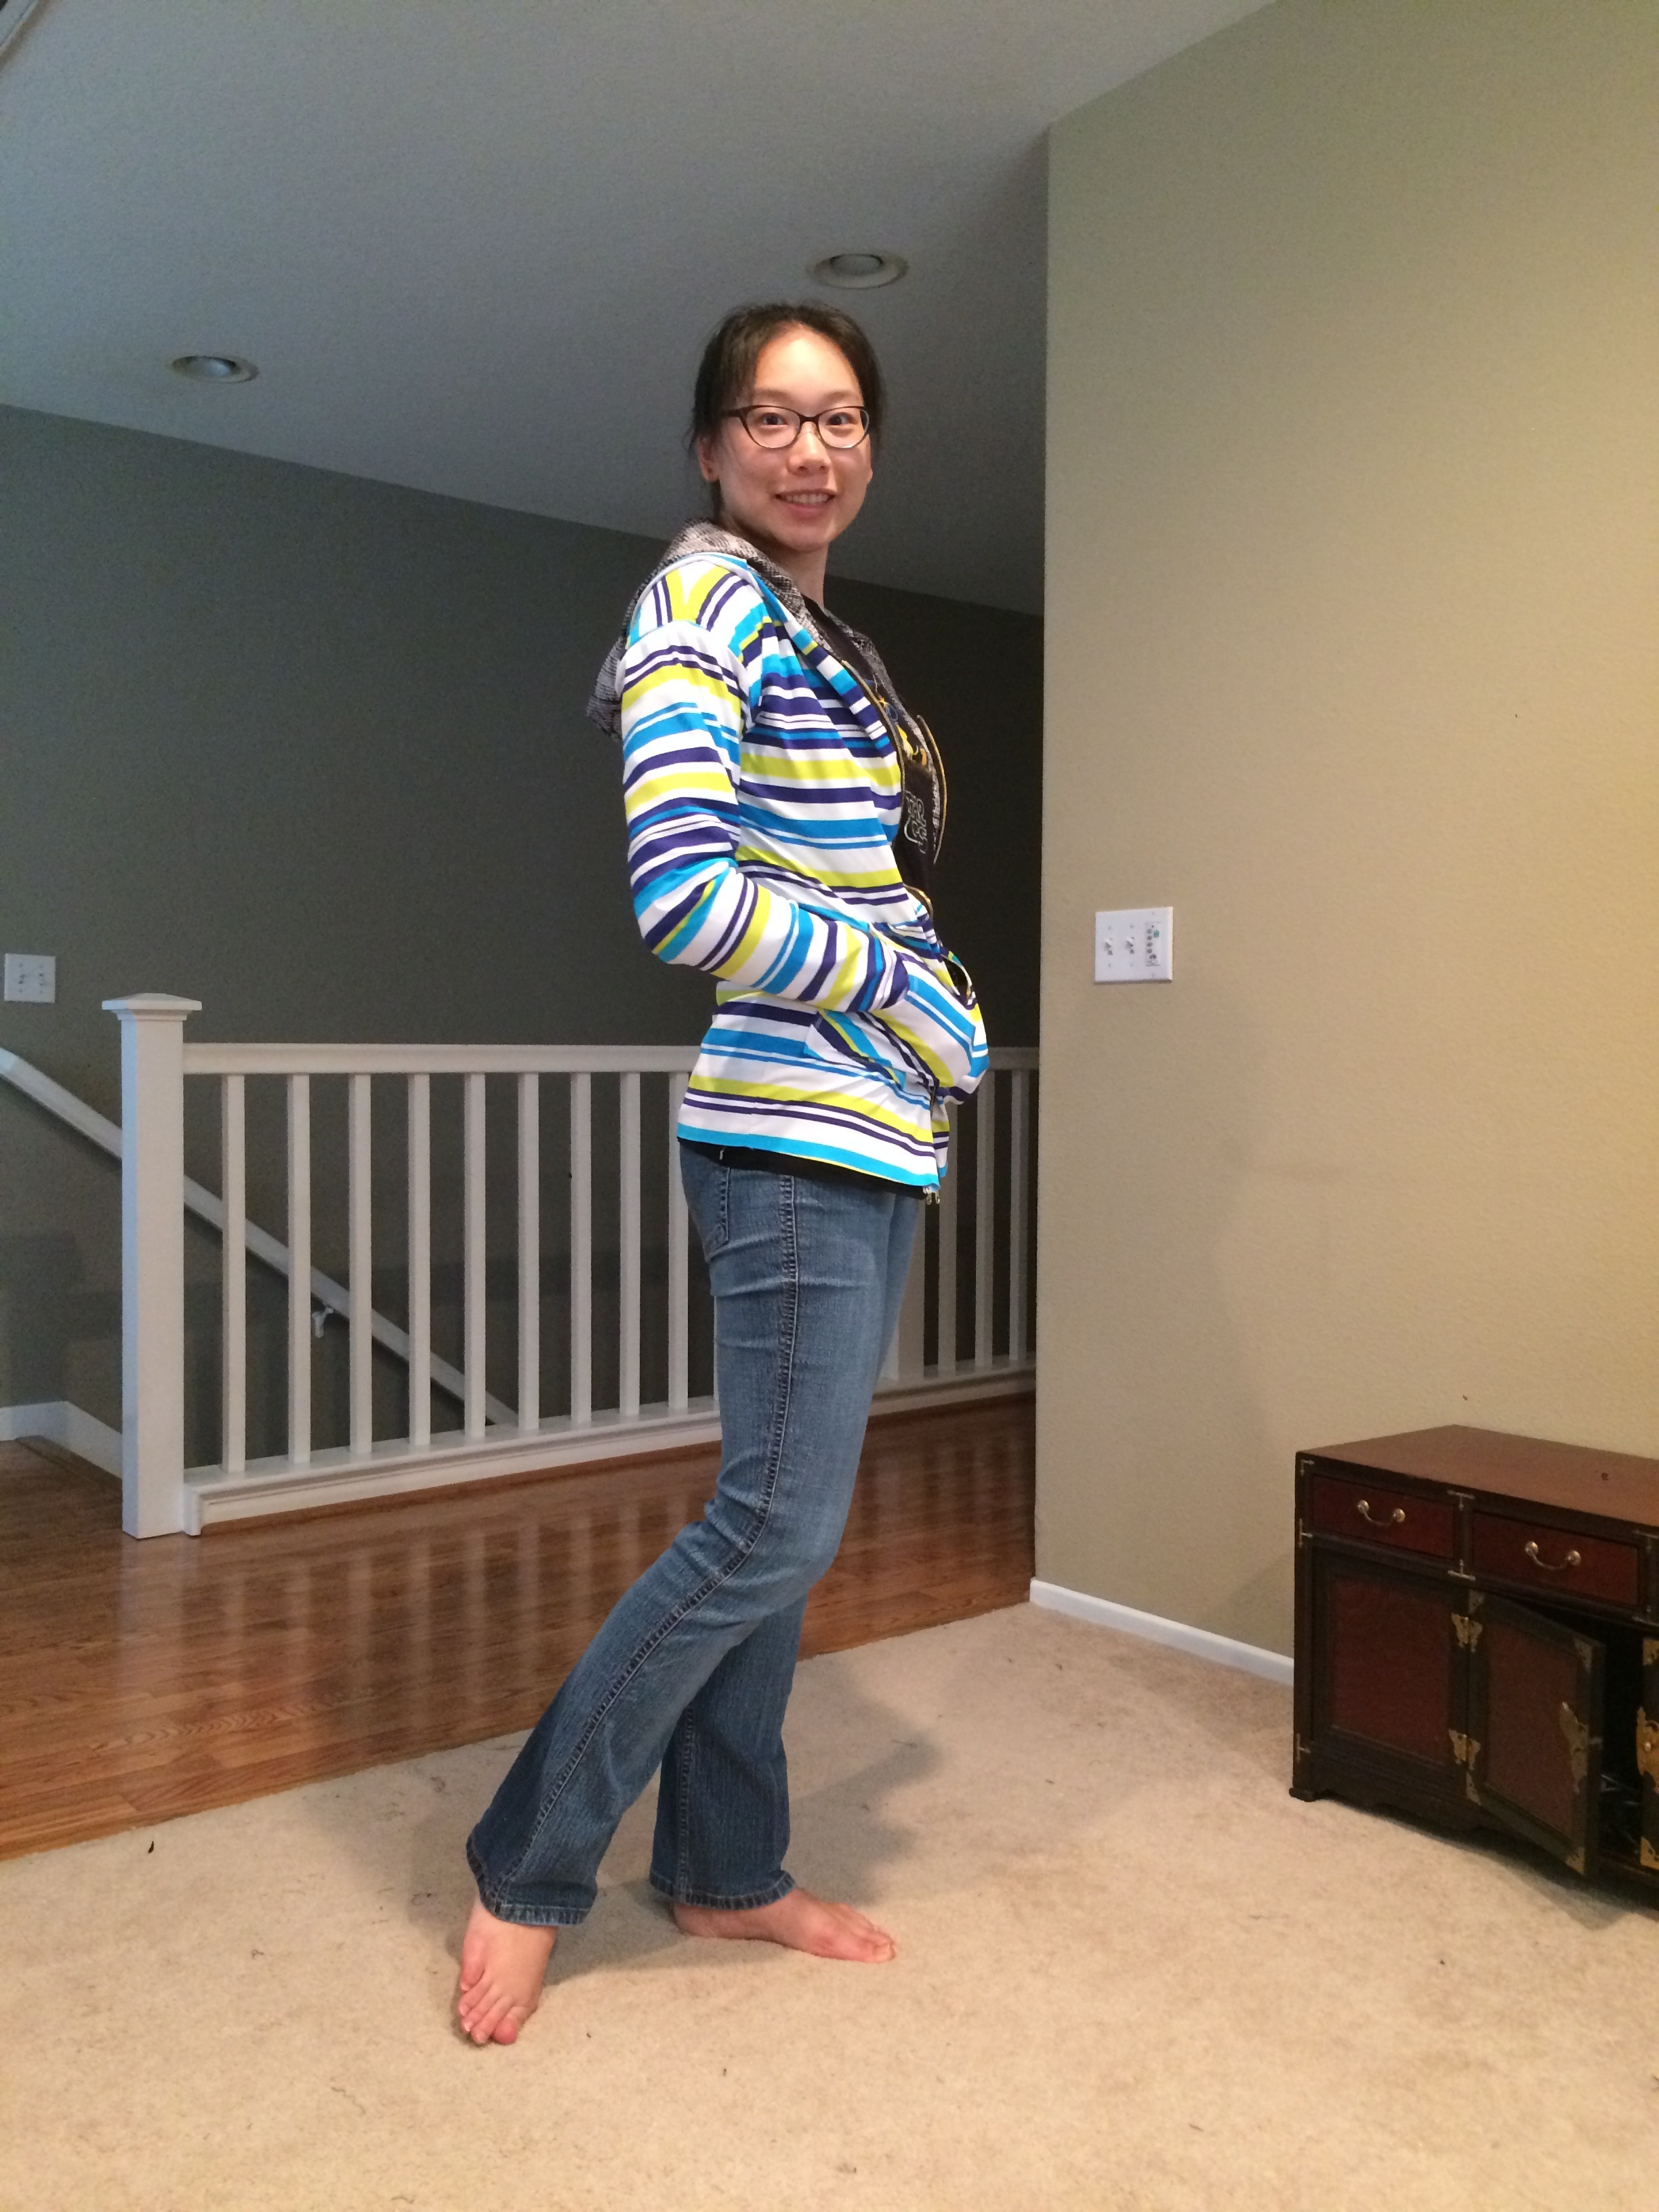
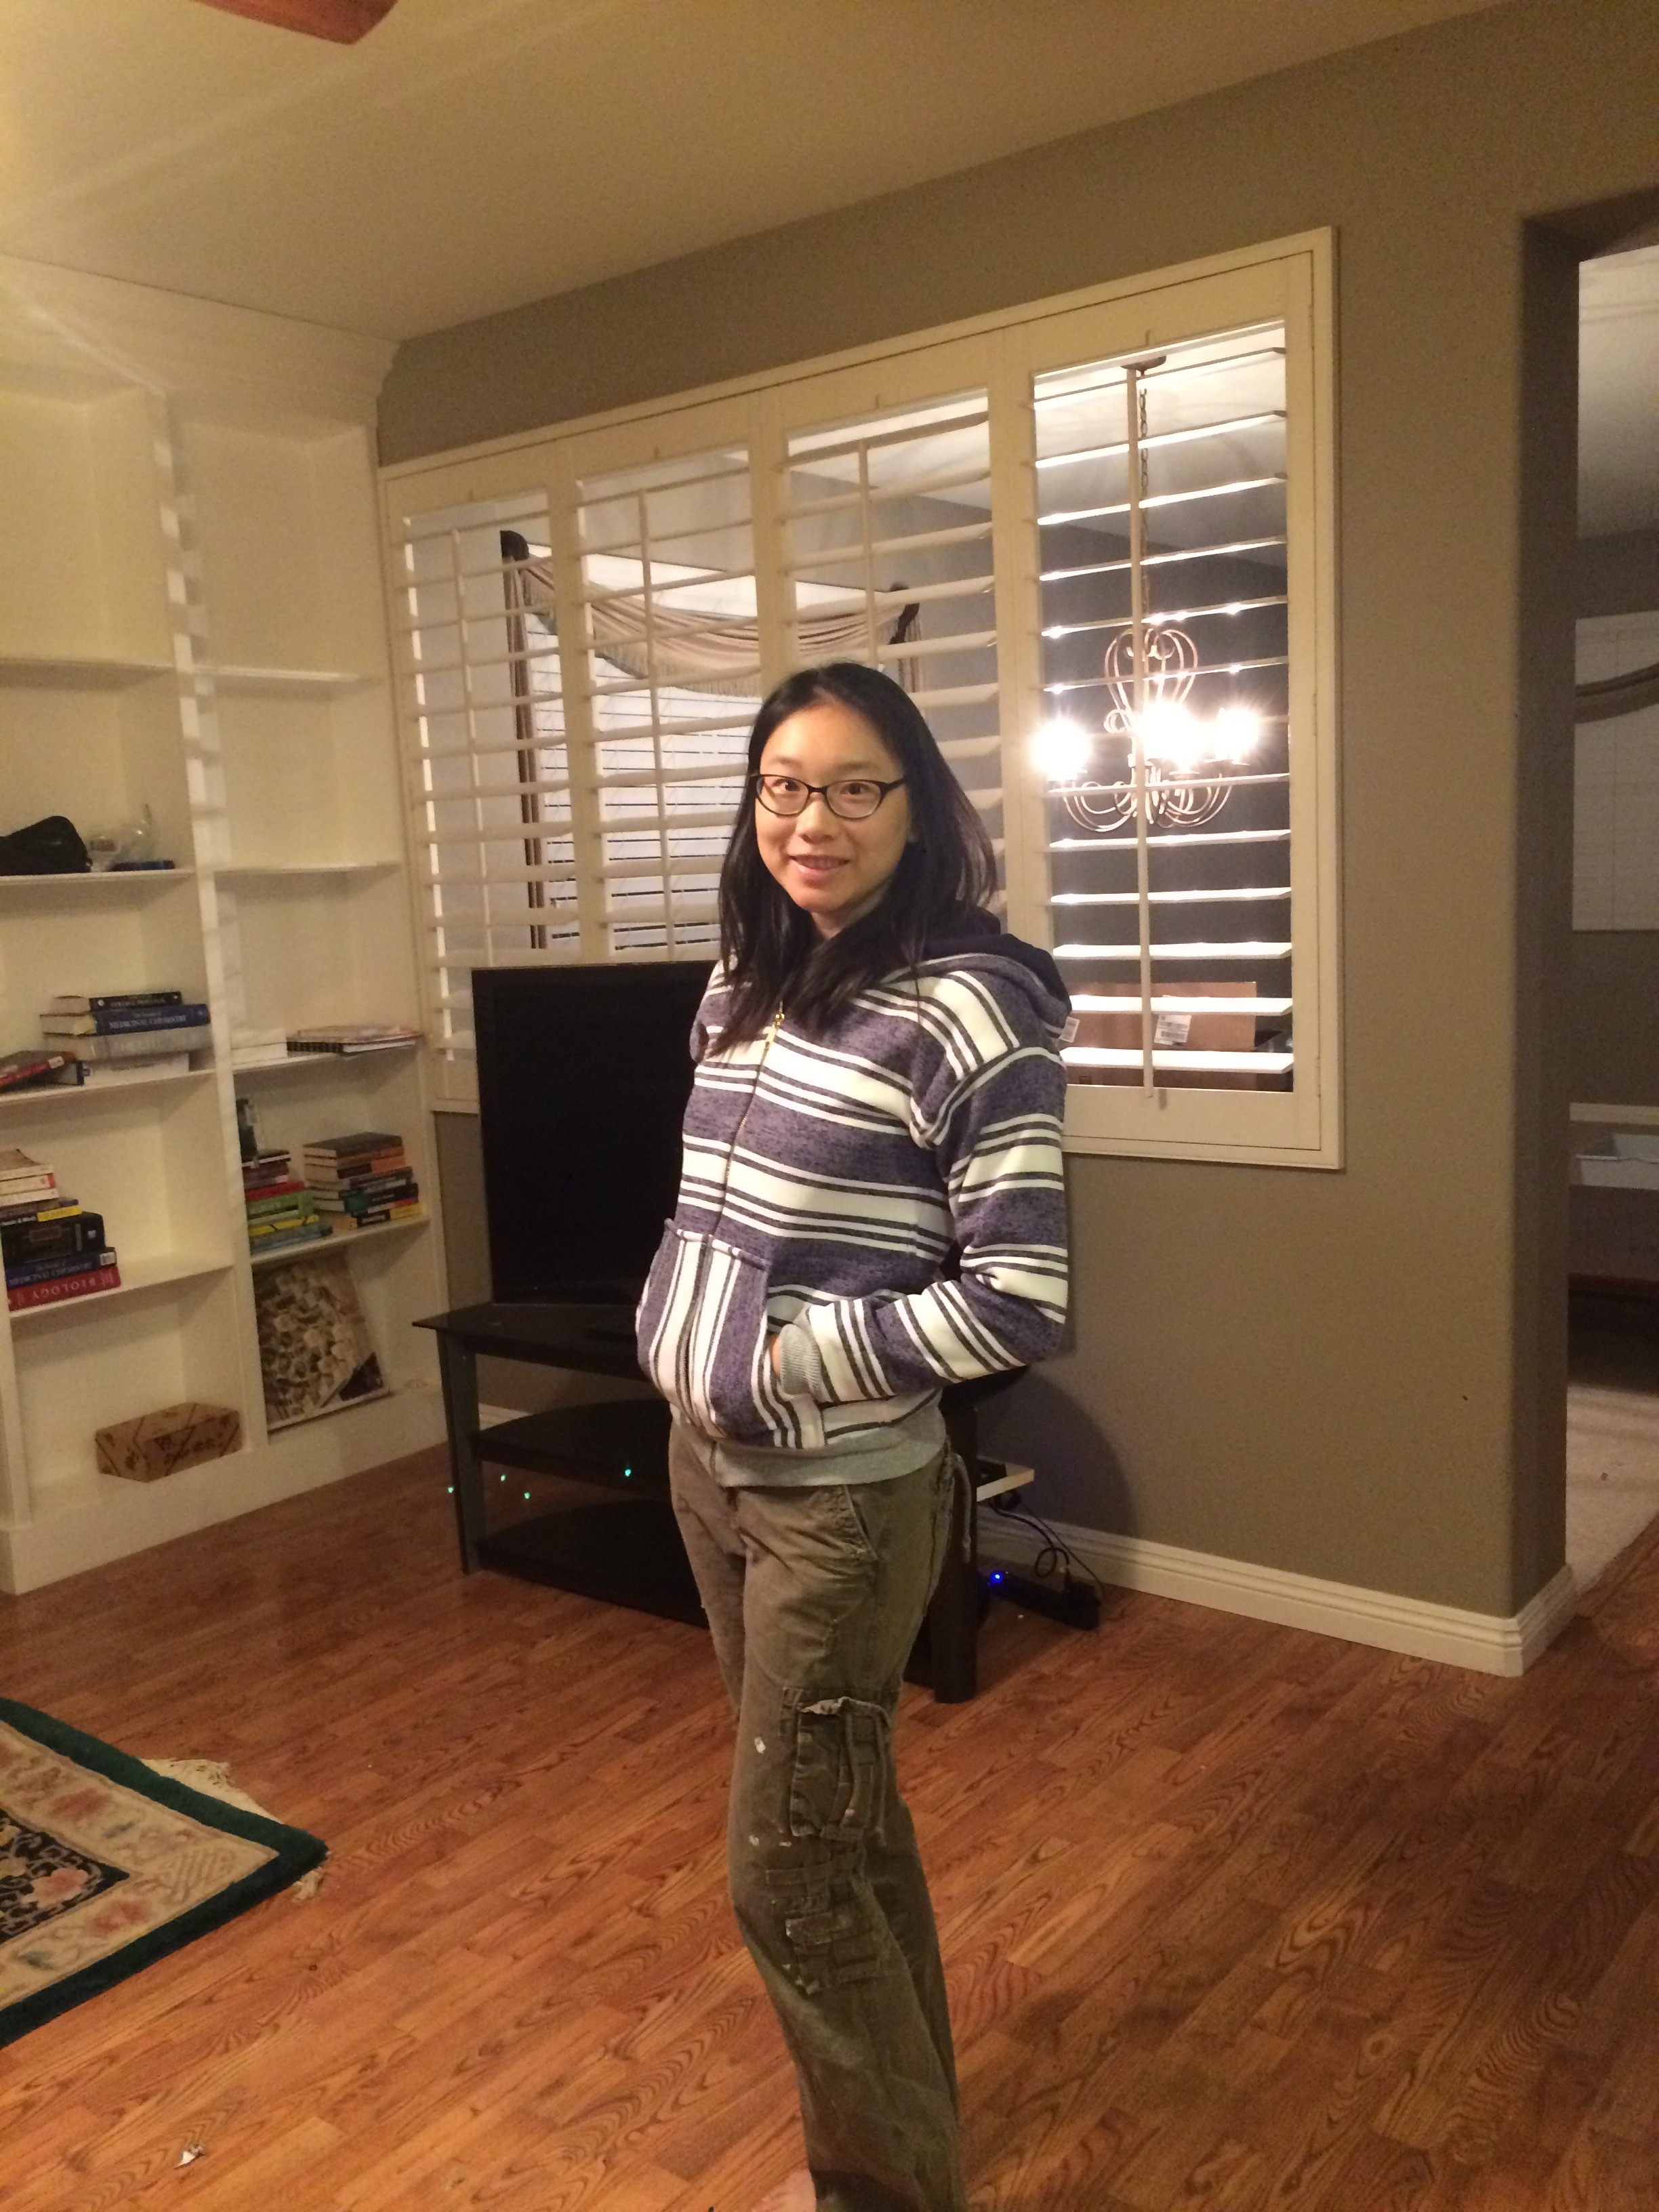
Showing off the reverse side, with colorful stripes. Again, no waistband and no cuffs if you wear the hoodie long like this.

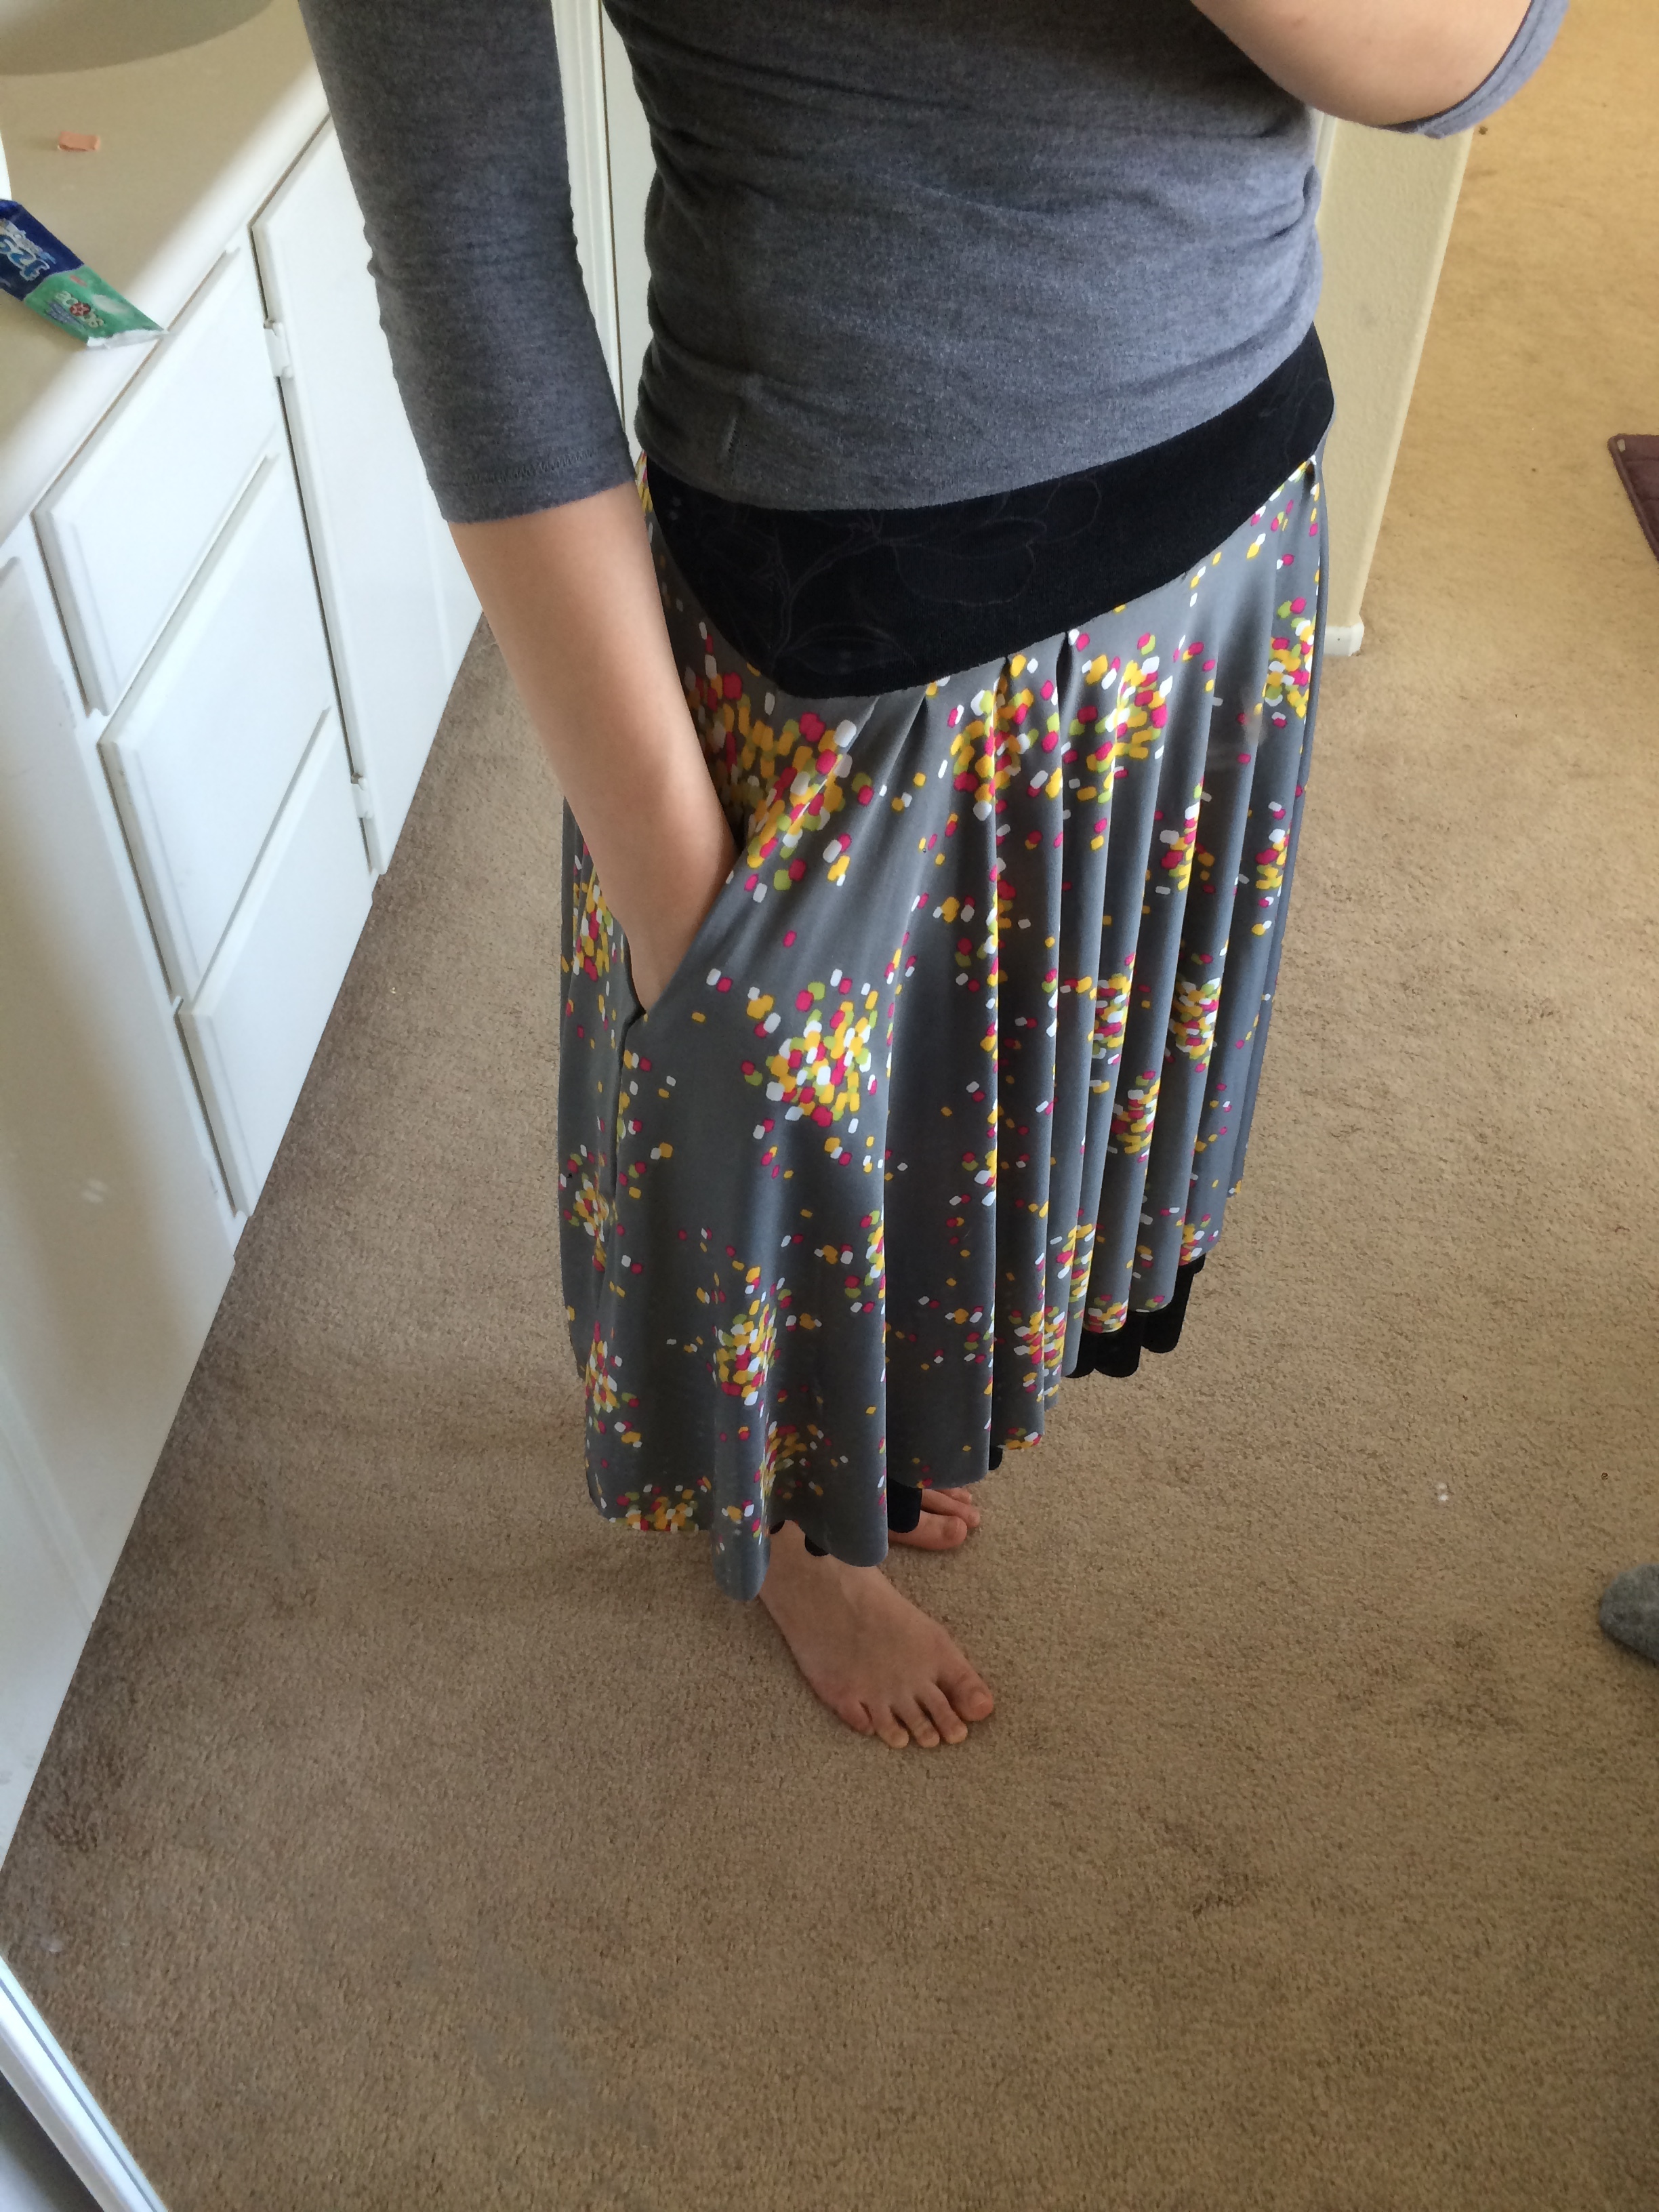
Hands in pockets!

Hood up!

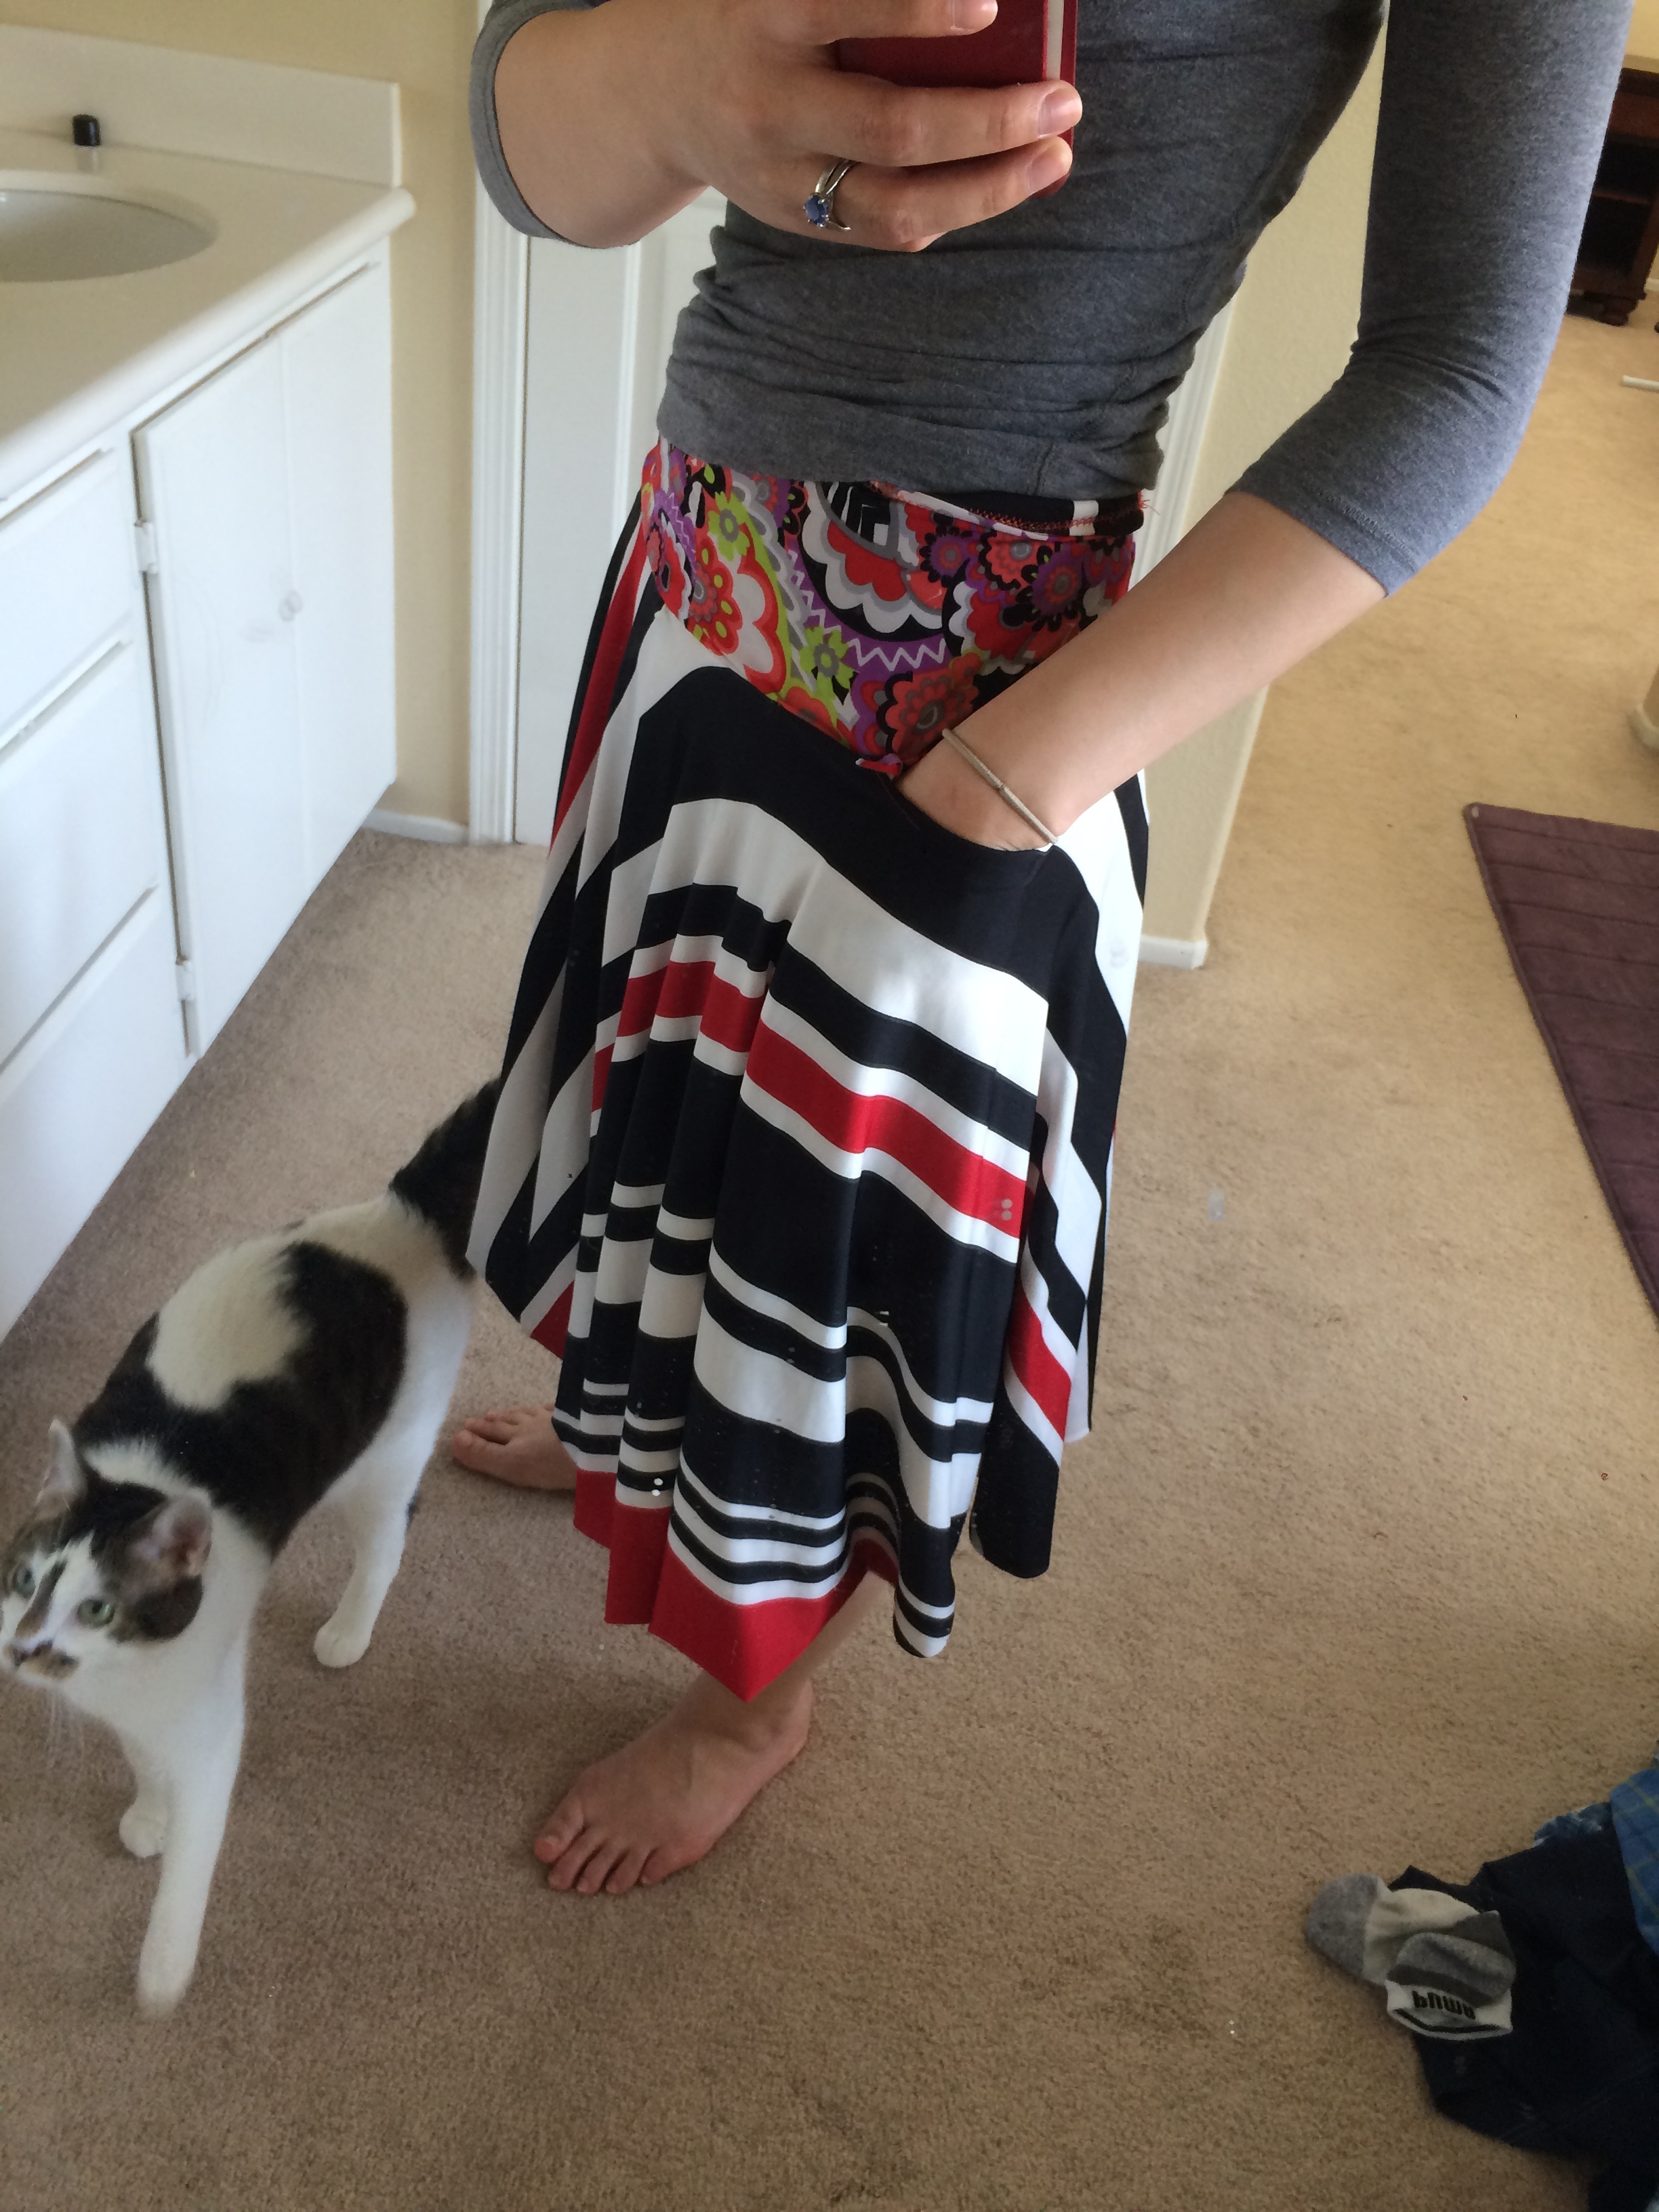
Here I paired the hoodie with the black/gray reversible skirt I showed before.

I folded the bottom of the hoodie up to show a little contrasting waistband. You can also see some contrasting sleeve cuffs from the reverse fabric peeking out. I like that you can show as much or as little of the reverse fabric as you like.

Twirling with my skirt at sunset

Some outdoor photos

More outdoor photos
Ok, I hope you enjoyed my newest project! I just call it my second hoodie. I know this post is very photo heavy, but I"m very very proud of it, haha! Like I said, this is so far my favorite piece that I've made. Too bad its too hot here for sweatshirt wearing. I'm hoping I'll get more mileage out of my hoodies in fall/winter.
Thanks for reading!