To continue my brief reviews of my camera equipment, today I will be focusing on the Nikon kit zoom lens, the 18-55mm f/3.5-5.6 zoom. Again, here is a summary of the equipment I use:
My Gear:
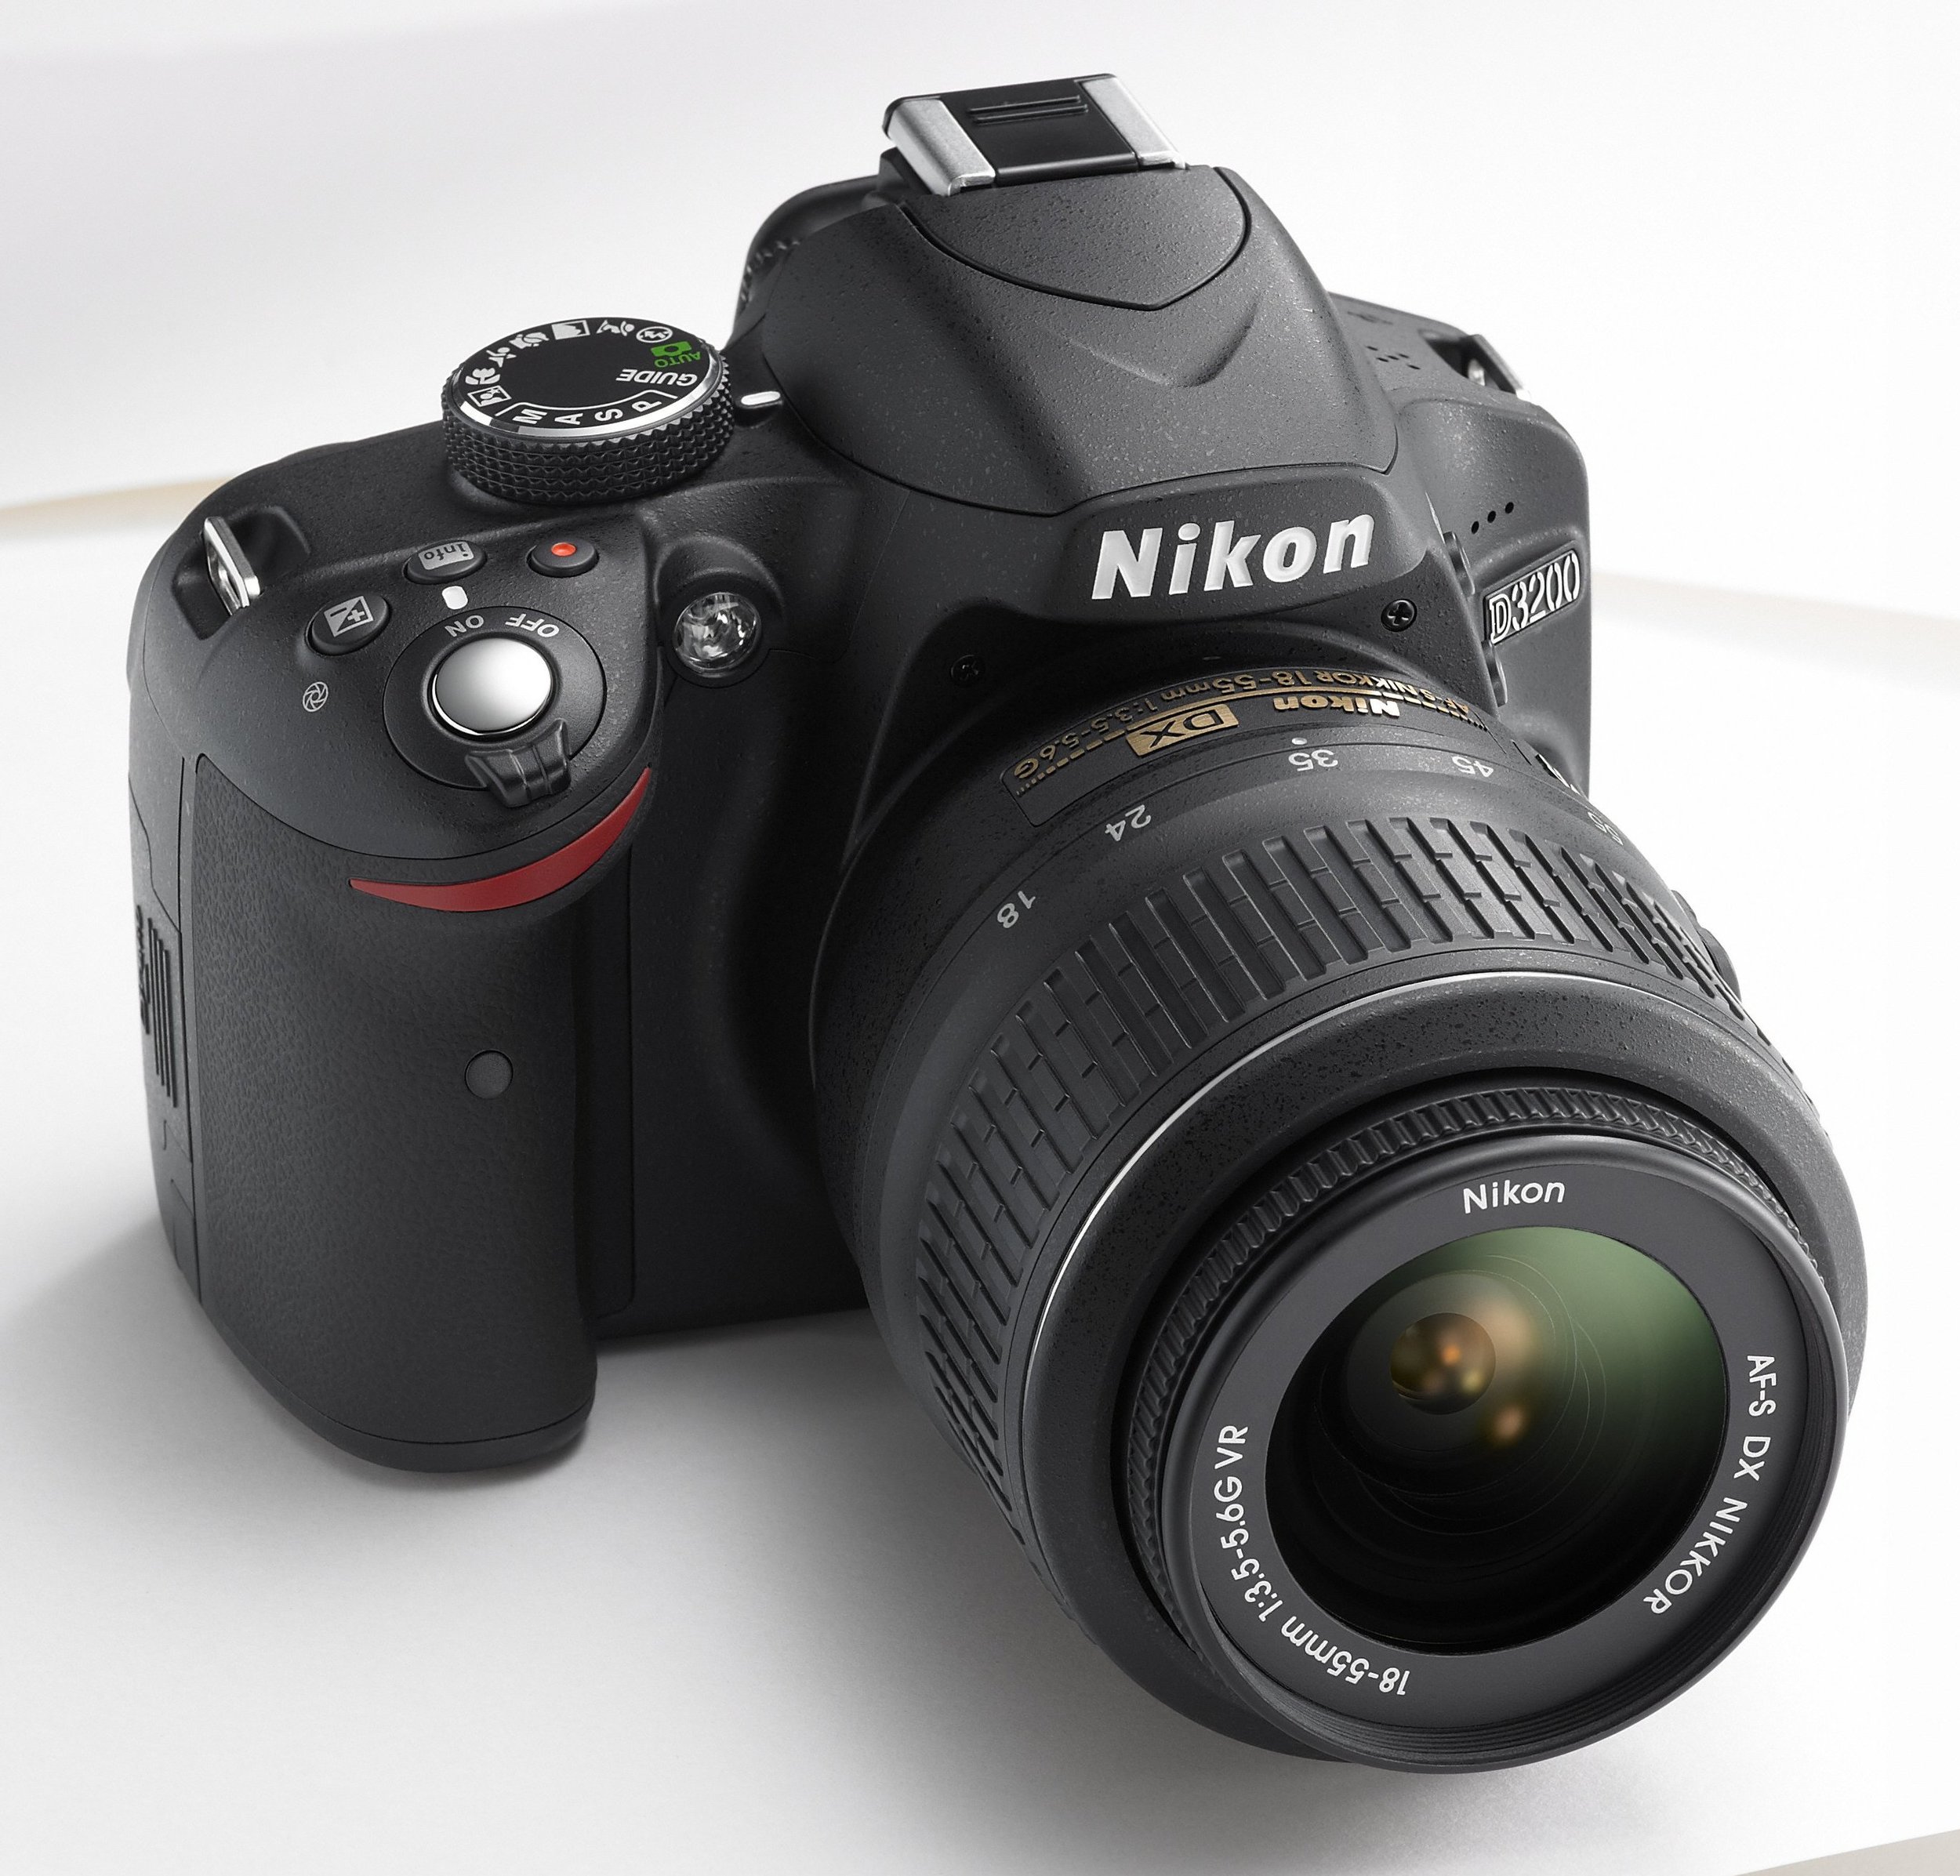
Nikon D3200 24.2 MP CMOS Digital SLR with 18-55mm f/3.5-5.6 AF-S DX VR NIKKOR Zoom Lens (Black)
Nikon 50mm f/1.8G AF-S NIKKOR FX Lens for Nikon Digital SLR Cameras
Nikon 70-300mm f/4.5-5.6G ED IF AF-S VR Nikkor Zoom Lens for Nikon Digital SLR Cameras
Tokina 11-16mm f/2.8 AT-X116 Pro DX II Digital Zoom Lens (AF-S Motor) (for Nikon Cameras)
The Kit Lens: Nikon 18-55mm Zoom Lens
When I say "Kit Lens," I basically mean the lens that comes with the D3200 body when you purchase the Nikon D3200 with basic zoom lens. It's pretty much the lens that everyone starts off with, since its much more economical to buy the camera body with the attached lens. And unless you know that you will never use the Nikon 18-55mm, I would recommend getting the body & lens combo. It might not be the fastest or sharpest lens you end up getting, but I think it is a good lens to start off with. And even if you eventually grow out of the consumer level kit lens and replace it with a higher end lens in this focal length range, you can still use the kit lens for some fun stuff, like reversed lens macro setups (which I may talk about in a later post).
So photography lenses are generally divided into a few large categories.
Standard/Normal lens - a normal lens is a lens that reproduces a field of view that looks "natural" to a human observer. This is usually around 30mm focal length for an APS-C sensor (like the Nikon D3200 has), or around 50mm focal length for a full frame sensor.
Wide angle lens - wide angle lenses have shorter focal lengths than normal lenses. A wide angle lens allows more of the background scene to be included in the photo, which is generally useful for architectural or landscape photography. Wide angle lenses also exaggerate relative size and distances, such that foreground objects appear much larger, while backgrounds are large and expansive and appear may appear small and far away. I will discuss more about wide angle lenses when I post my review of the Tokina 11-16mm.
Telephoto lens - telephoto lenses have longer focal lengths than normal lenses. Telephoto lenses range from 85mm to over 300mm in focal length. They are useful in making distant objects appear magnified, and are especially useful for wildlife photography (birding, zoo photos) or sports photography, where you cannot get closer to the subjects. I will discuss telephoto lenses in more detail in my upcoming review of the Nikon 70-300mm zoom.
Macro lens - a macro lens is used in extreme close up photography of small objects. In a true macro lens, the lens renders the subject on the camera sensor at life sized (1:1) scale or greater. You are able to make photographs much larger than life sized of some very small objects (insects and small flowers are popular subjects). Macro lenses are specially designed for close up work. Unfortunately I do not own a dedicated macro lens, but I will discuss alternatives for macro photography that I have dabbled in, including the fun reversed lens method.
The Nikon 18-55mm zoom lens is a pretty outstanding lens for its price. In fact, it has even been ranked by photographer Ken Rockwell as one of Nikon's 10 Best Lenses. [Ken Rockwell's website btw is an excellent source for in depth camera and lens reviews that go way beyond my brief reviews]. The only reason I would toss this lens out of my camera bag would be if I upgraded my camera body to a full sized FX sensor, since the 18-55mm zoom works only on DX or APC-S sized sensors. On a Full frame FX camera, you would experience extreme vignetting. But that is not really a drawback, since the lens is meant to work with the body it is bundled with, and with the D3200, it is extremely sharp and fast focusing.
The lens is nice and small, which is a really great attribute that I've only come to appreciate after having lugged my large telephoto around for a few days. It balances well on the camera body, and the zoom and focus rings are well positioned. It does not have a manual aperture ring, but I have not found that limiting at all. It has a hard plastic body, and is not weatherproofed like higher end Nikon models, but it is an overall excellent travel lens. I usually have the 18-55mm or Tokina 11-16mm as my walkaround lens.
Conclusion: The Nikon 18-55mm Zoom Lens is an excellent lens for the price. It's an excellent lens even if you had to purchase it separately, but since it typically is bundled with the D3200 anyway, it's a great lens for a great deal! It was my first lens, and probably most people's first lens, and I still continuously use it, even though I have purchased additional dedicated lenses many fold more expensive than the small kit lens.
In fact, it is so good that you may never feel the need to upgrade it. The 18mm side is a pretty decent wide angle, so you may never need to buy a dedicated wide angle lens. And the kit lens works fine as a general purpose macro lens (even though it does not get down to 1:1 reproduction), doing away with a dedicated macro. You may want to buy a telephoto to cover the long focal length range if you feel that is necessary, but honestly I found very little use with my telephoto. Besides it being large and heavy, I simply do not shoot the kinds of subjects that call for dedicated telephoto lenses.
The only reasons to buy another lens in the normal focal length range would be if you frequently shoot in low light conditions or want finer control over depth of field (eg for nicer bokeh). In both of these cases, I would recommend the Nifty Fifty, the Nikon 50mm f/1.8G which will be the subject of my next post.
Previous posts in this series:
The Camera: Go to my Blog Review of the Nikon D3200
Future posts in this series:
The Nifty Fifty: Nikon 50mm f/1.8G
The Telephoto Zoom: Nikon 70-300mm f/4.5-5.6G
The Wide Angle: Tokina 11-16mm f/2.8